Heading into space with Stephen

So a few weeks ago I was randomly scrolling on Ravelry and noticed a pattern placeholder for Stephen West’s upcoming annual Mystery Shawl KAL. And I was intrigued. I”m not a huge KAL person - I tend to be the one jumping on the bandwagon of a particular pattern approximately 5 years after everyone else - and I’m not a huge fan of many of Stephen’s designs (So. Much. Neon.) But…I’ve been sorely lacking in knitting mojo for a long time now, and I was in the midst of cleaning out and reorganizing my stash closet, so I took a closer look.

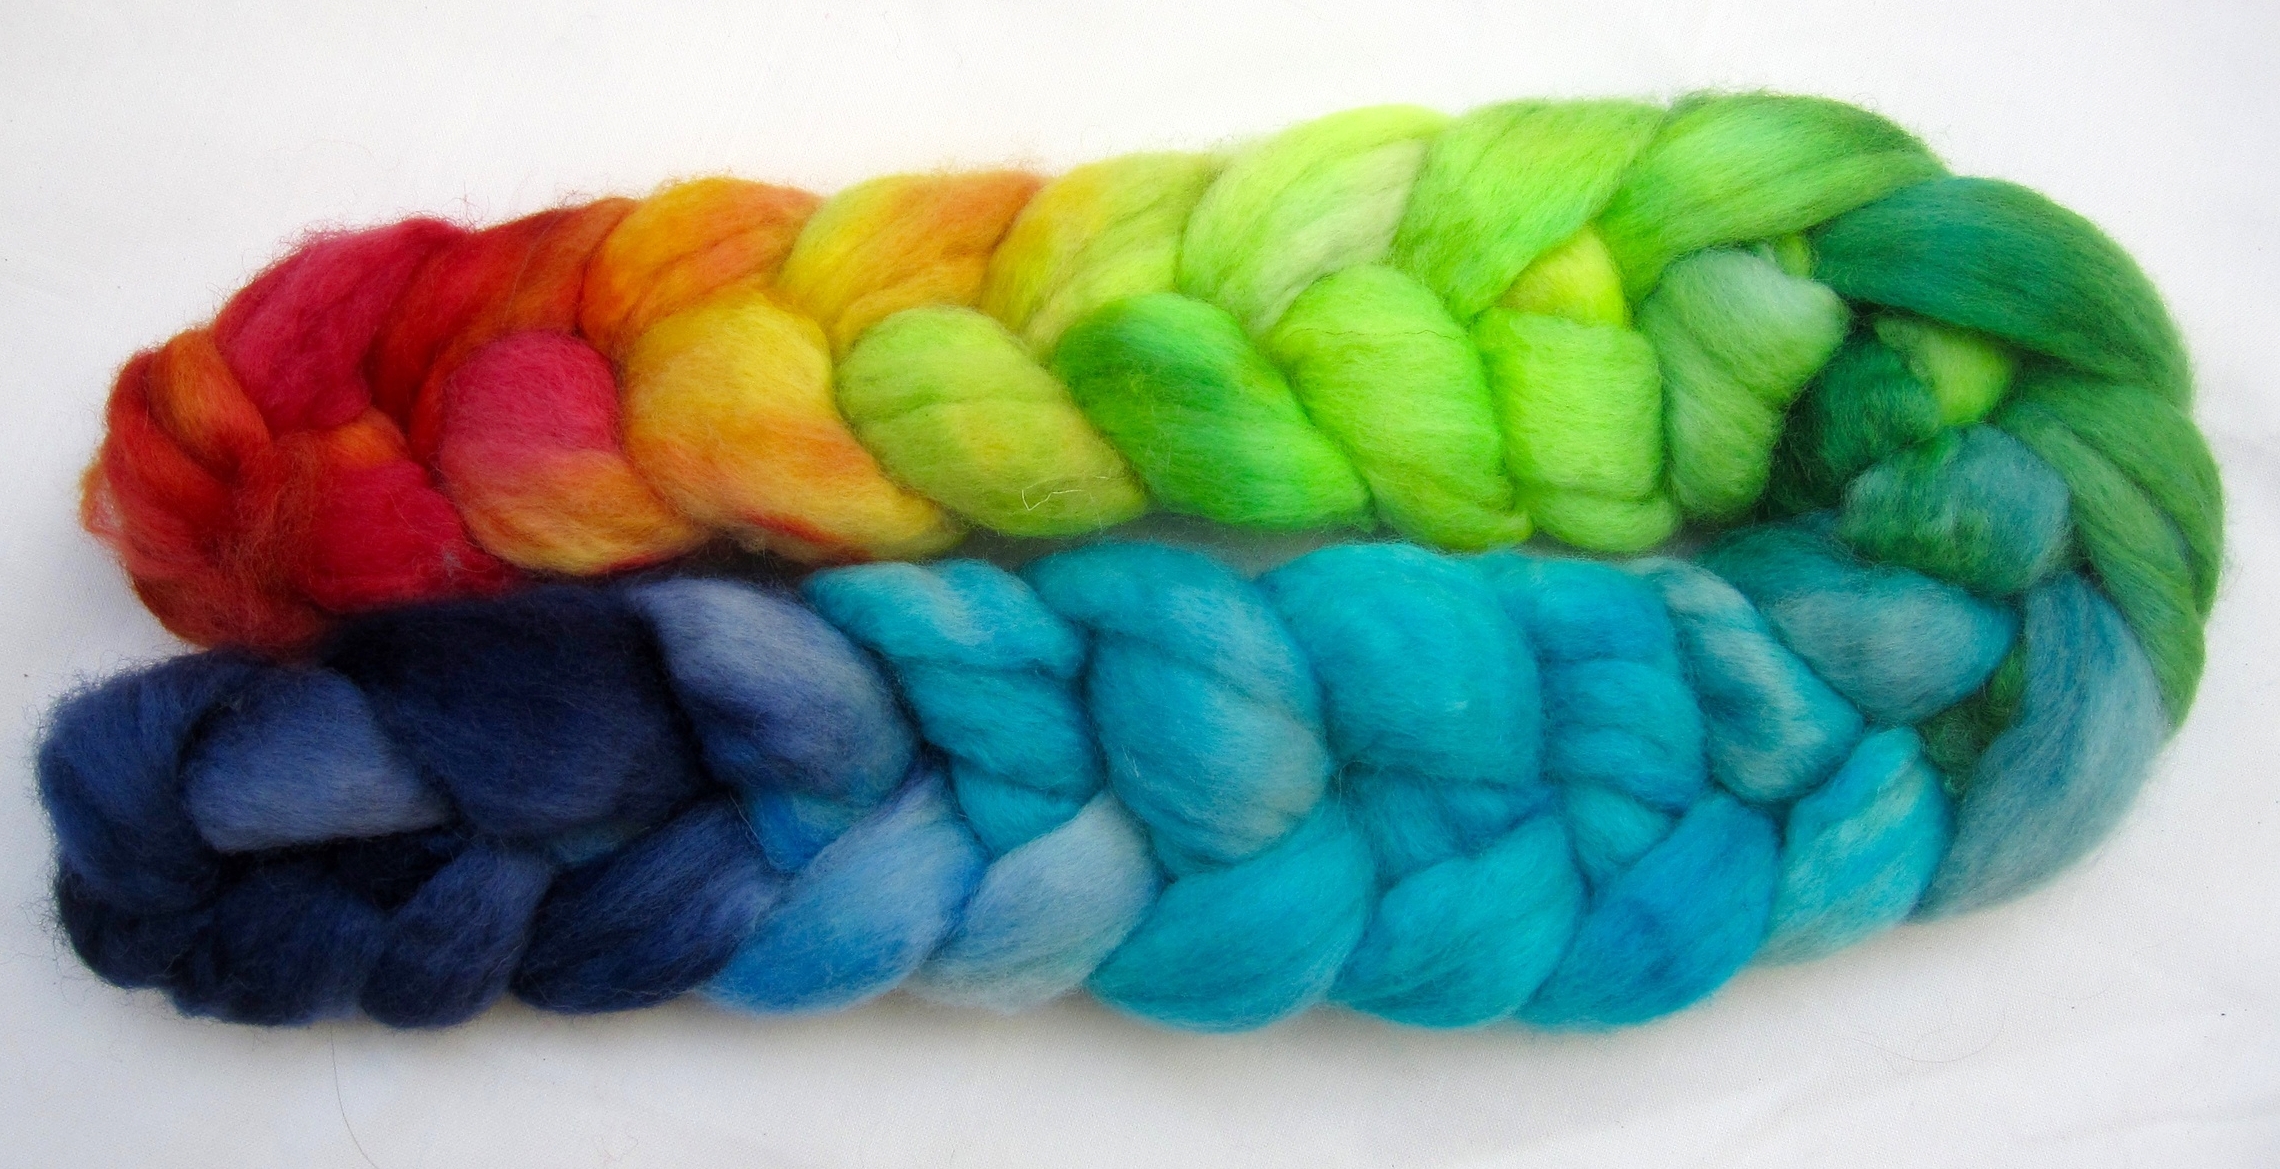
Two key points that sold me on joining this KAL: Geometric and gradient - I could use colors that were related to each other instead of having to throw things together and hope that they would look good in the final product, and I adore geometric motifs. The shawl also only calls for 1520 yds (so 4 skeins of ~380 yds each) so likely won’t end up being large enough to need to be blocked on a king-sized bed.

And then there was my stash clean out - maybe I could spin the yarn for the KAL and kill 2 birds with 1 stone: kick start some knitting and reduce the pile of wool that I needed to cram back into my closet. Win, win, right?

I pulled out some Victoria Sponge batts from long ago and decided to take a whirl with spinning them up and seeing how they might work together for a “gradient”. These batts were an experiment from many years ago at layering one color/type of fiber in-between 2 outer layers, like the jam in a traditional Victoria Sponge cake. I didn’t have 4 sets of batts in a true light-to-dark gradient, but I did find 4 different colors that I thought could potentially work together.

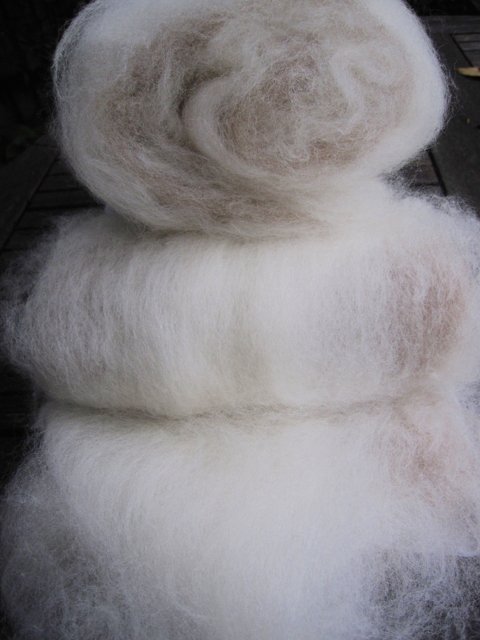
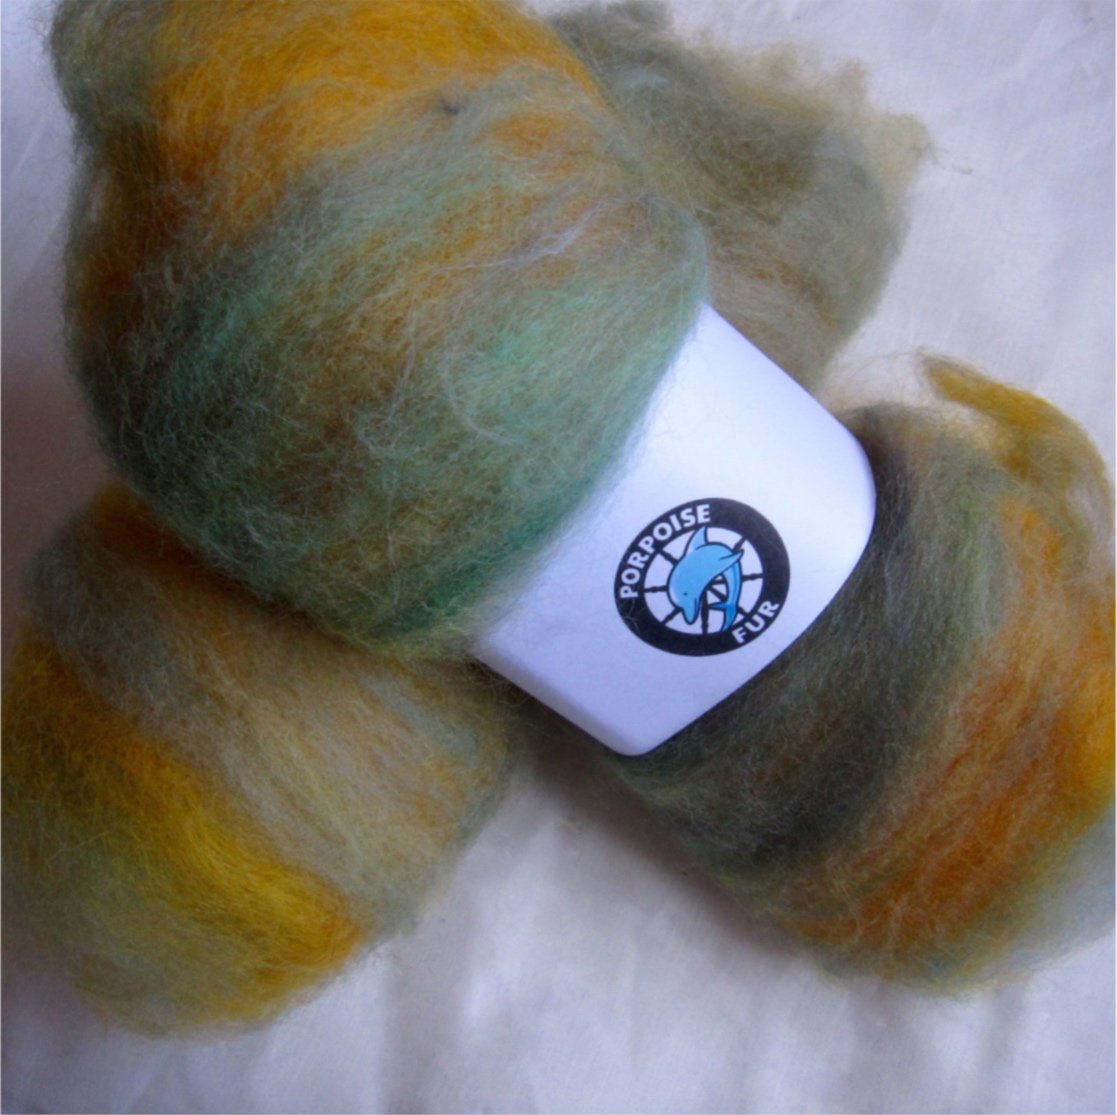
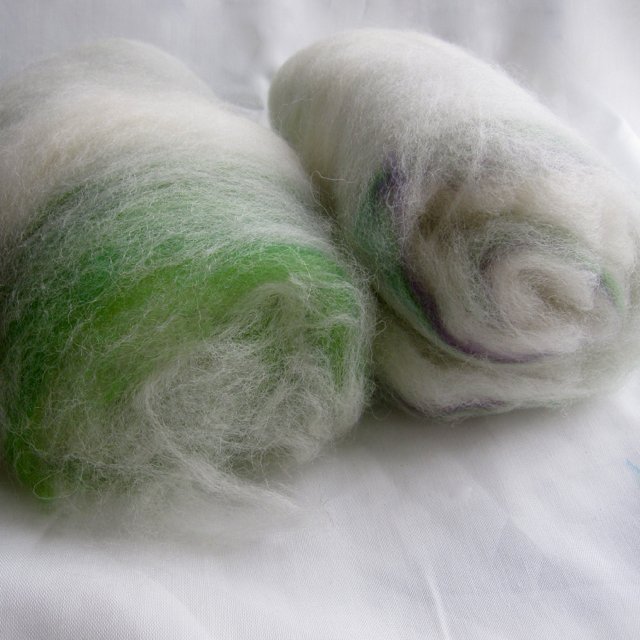
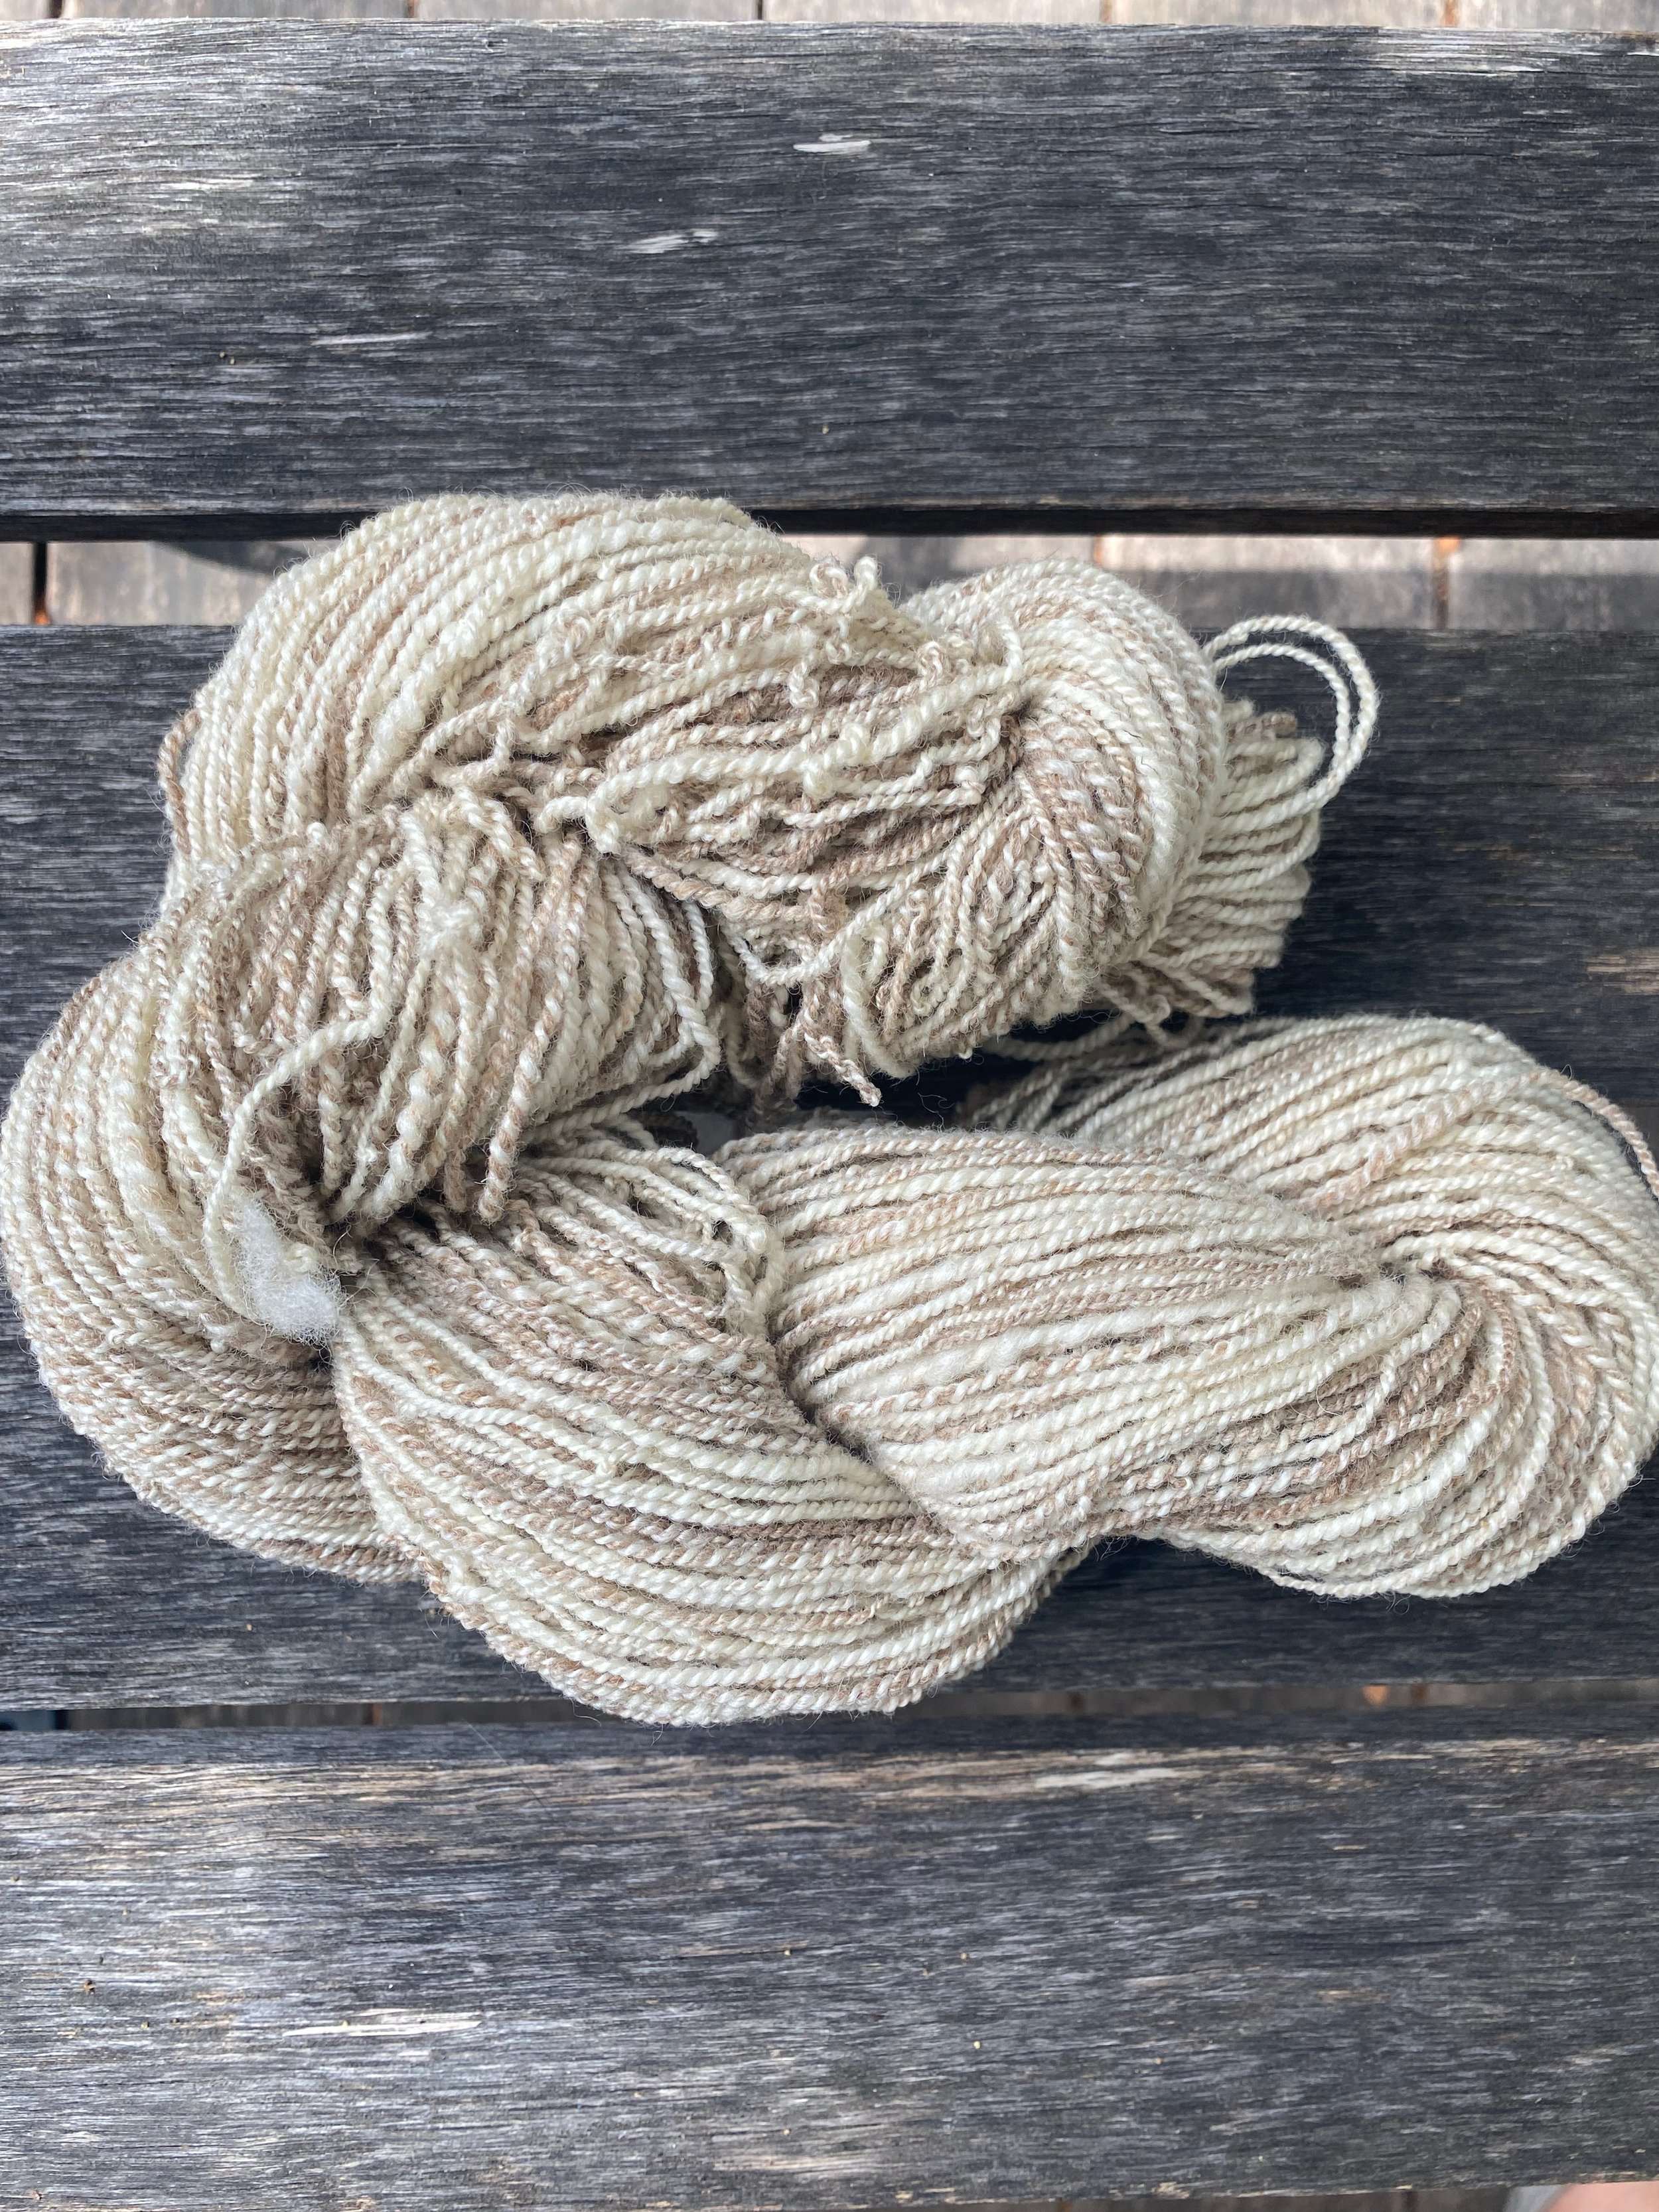
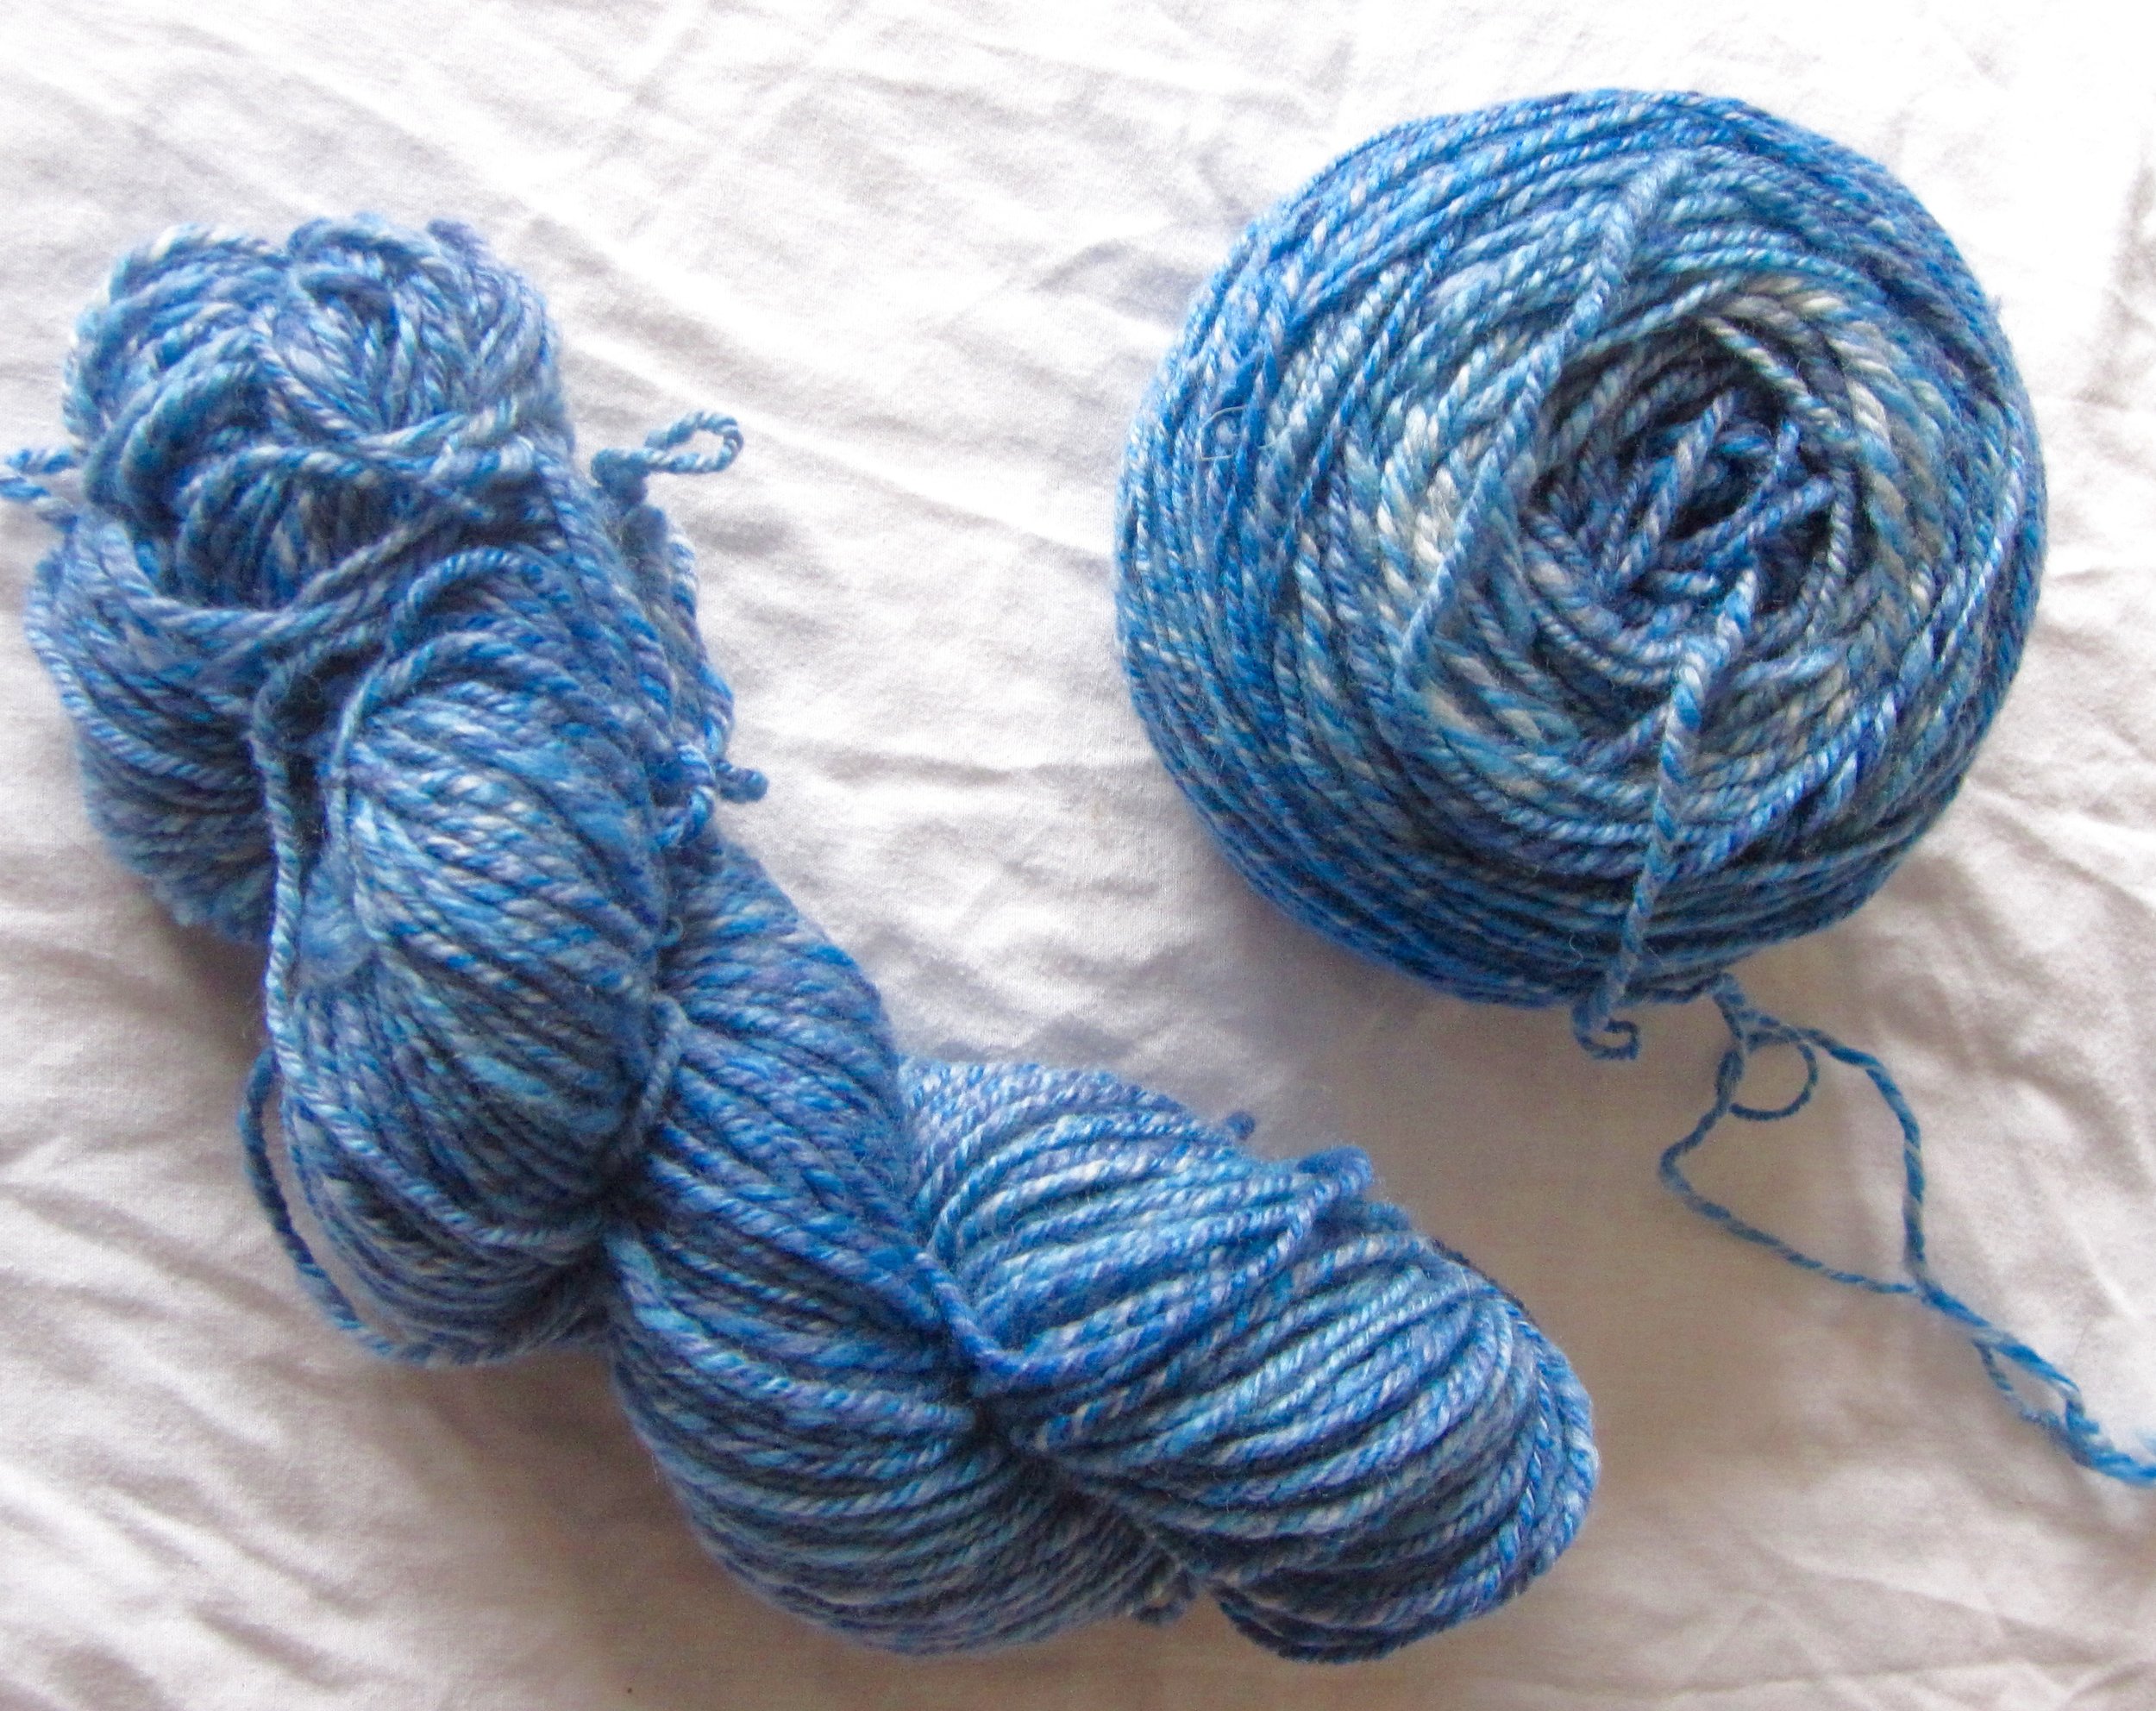
Color 1 is 66% undyded BFL and 33% natural brown Corriedale. Color 2 is a mix of 2 different batts - one set was 50% BFL (green) and 50% Wensleydale (gold shades) and the second was 66% natural Romney and 33% BFL in green and purple.

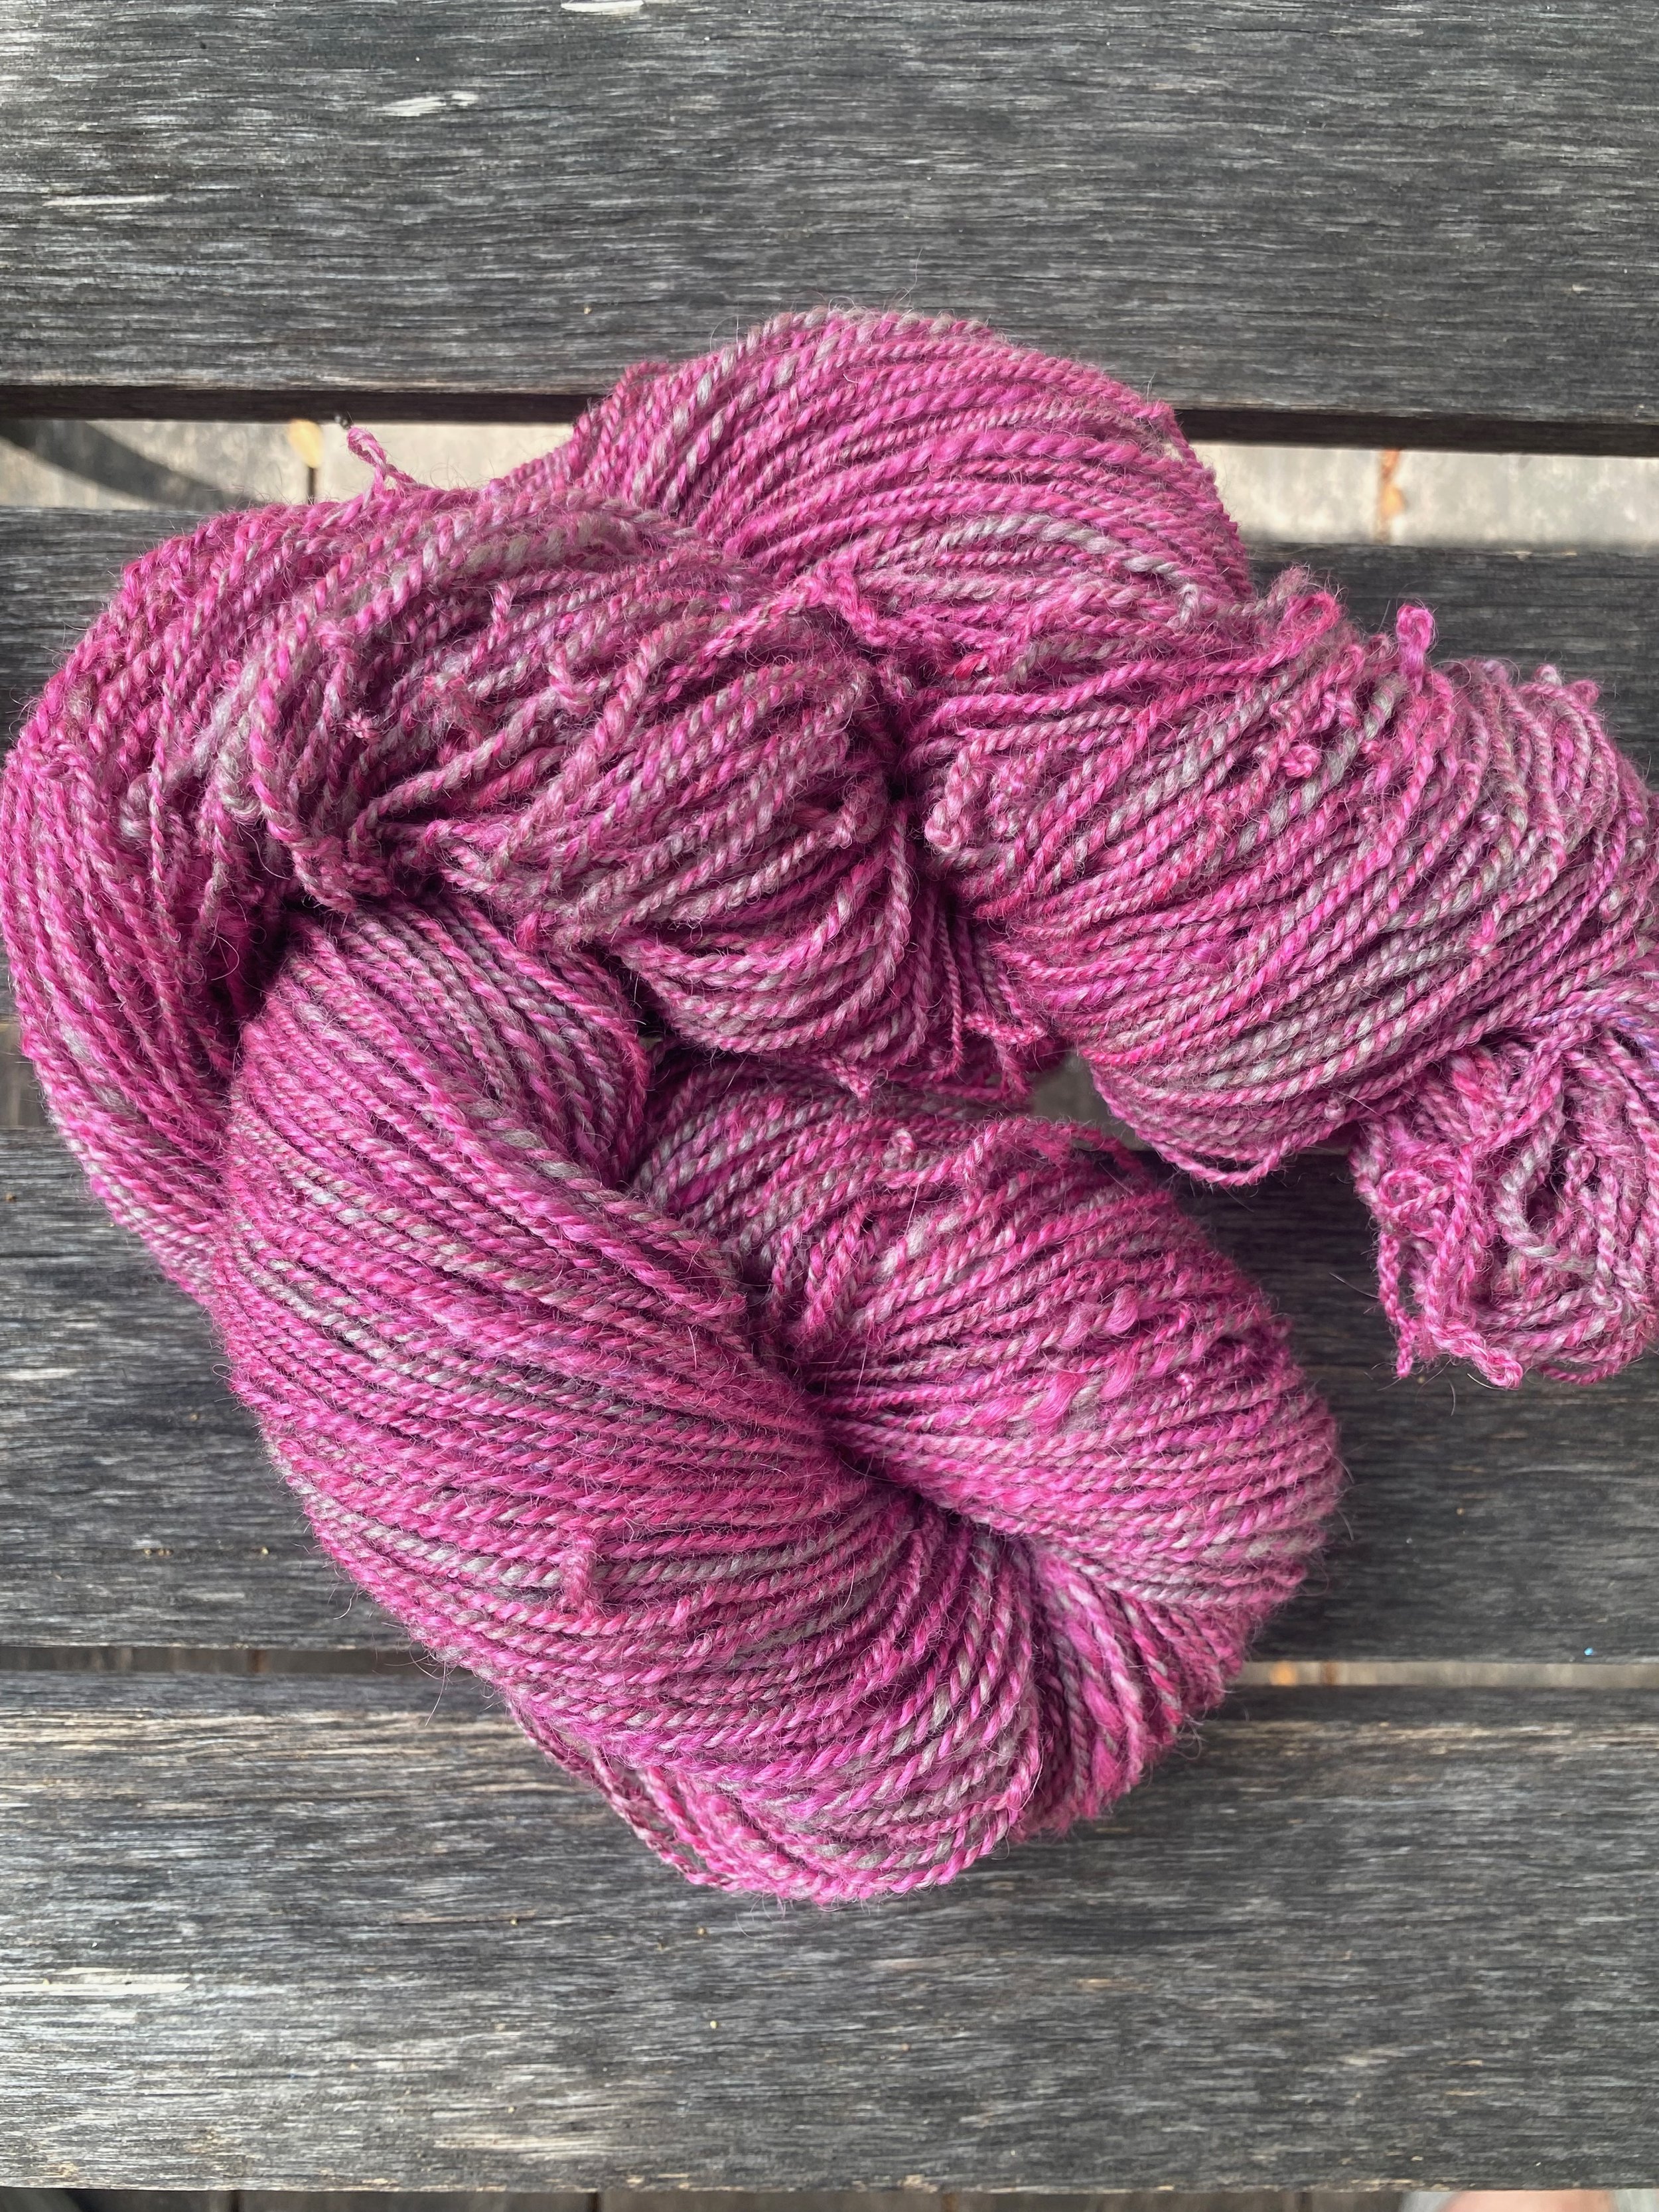
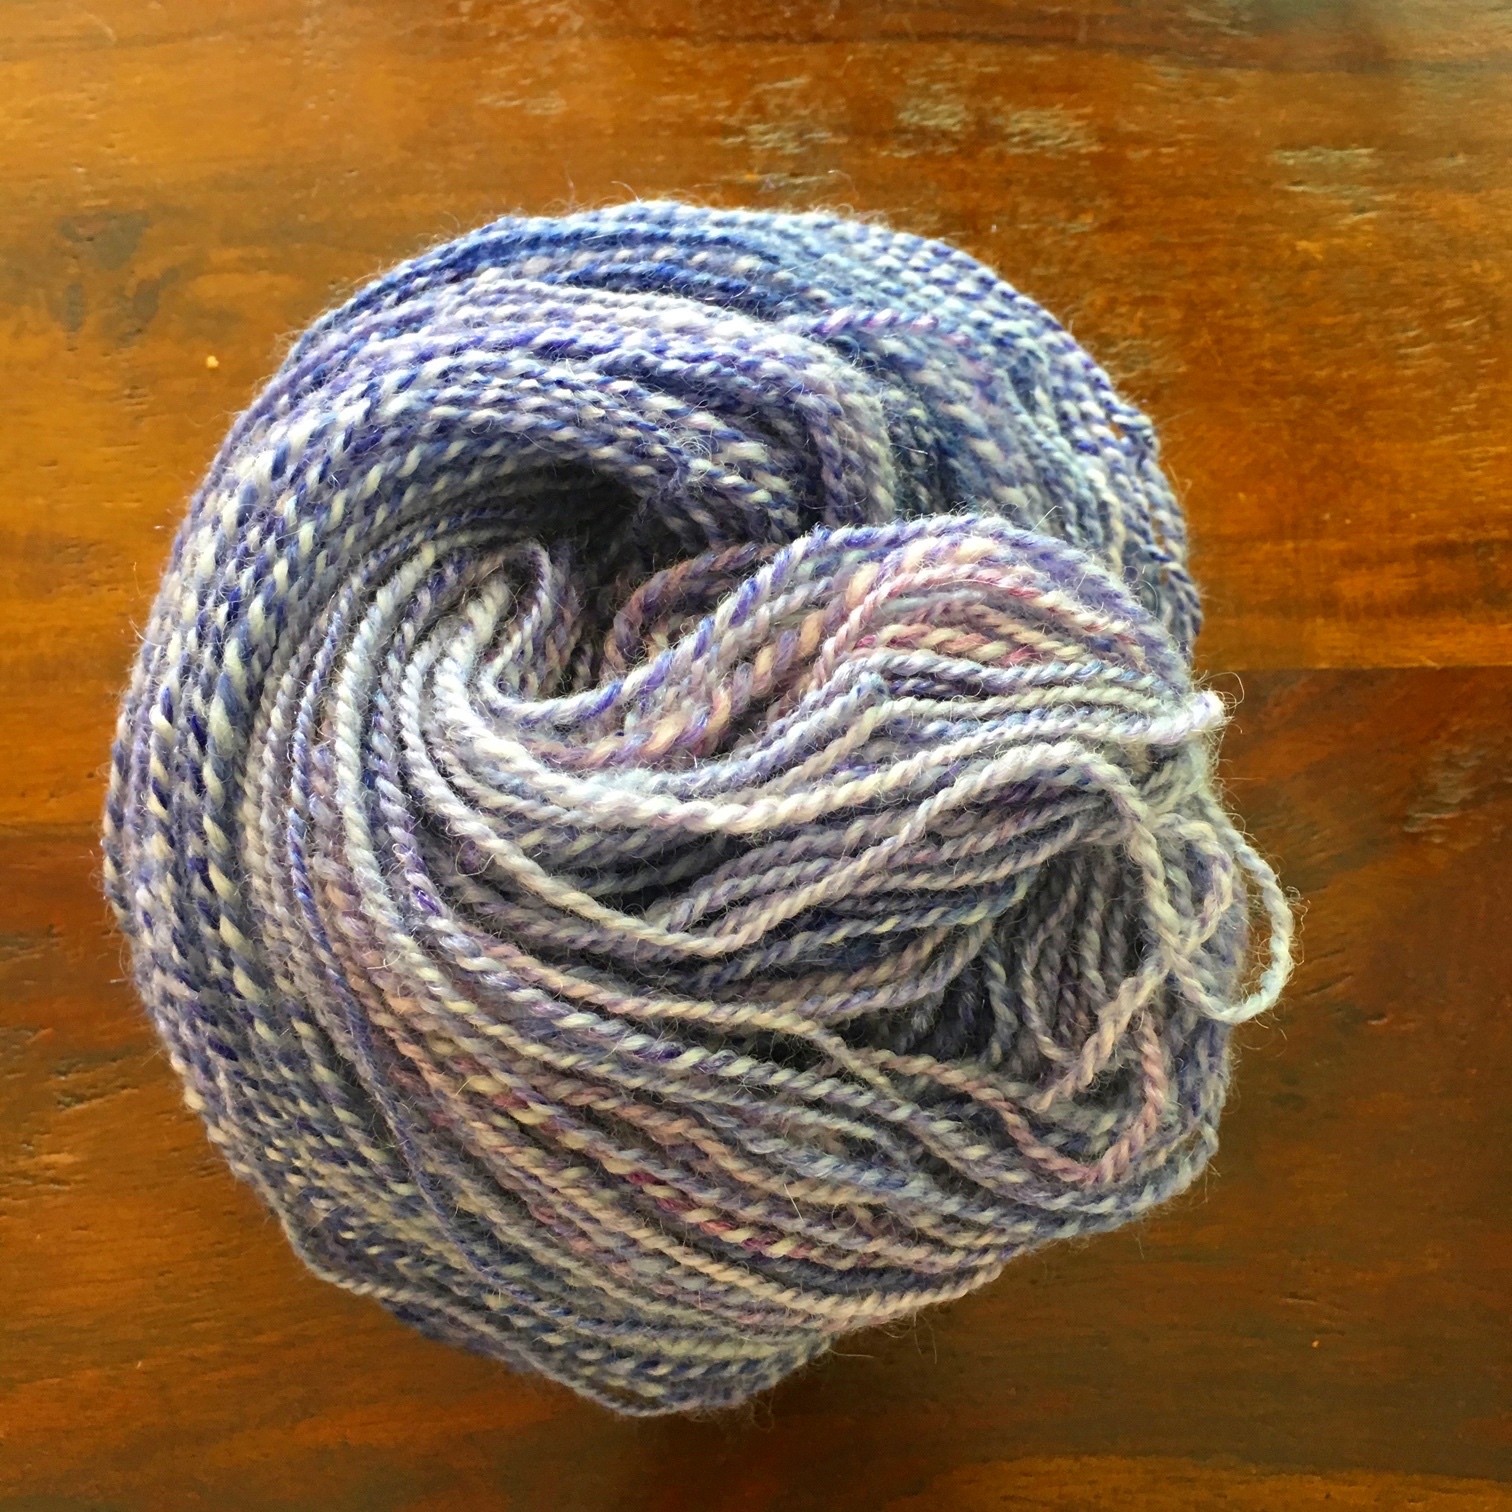
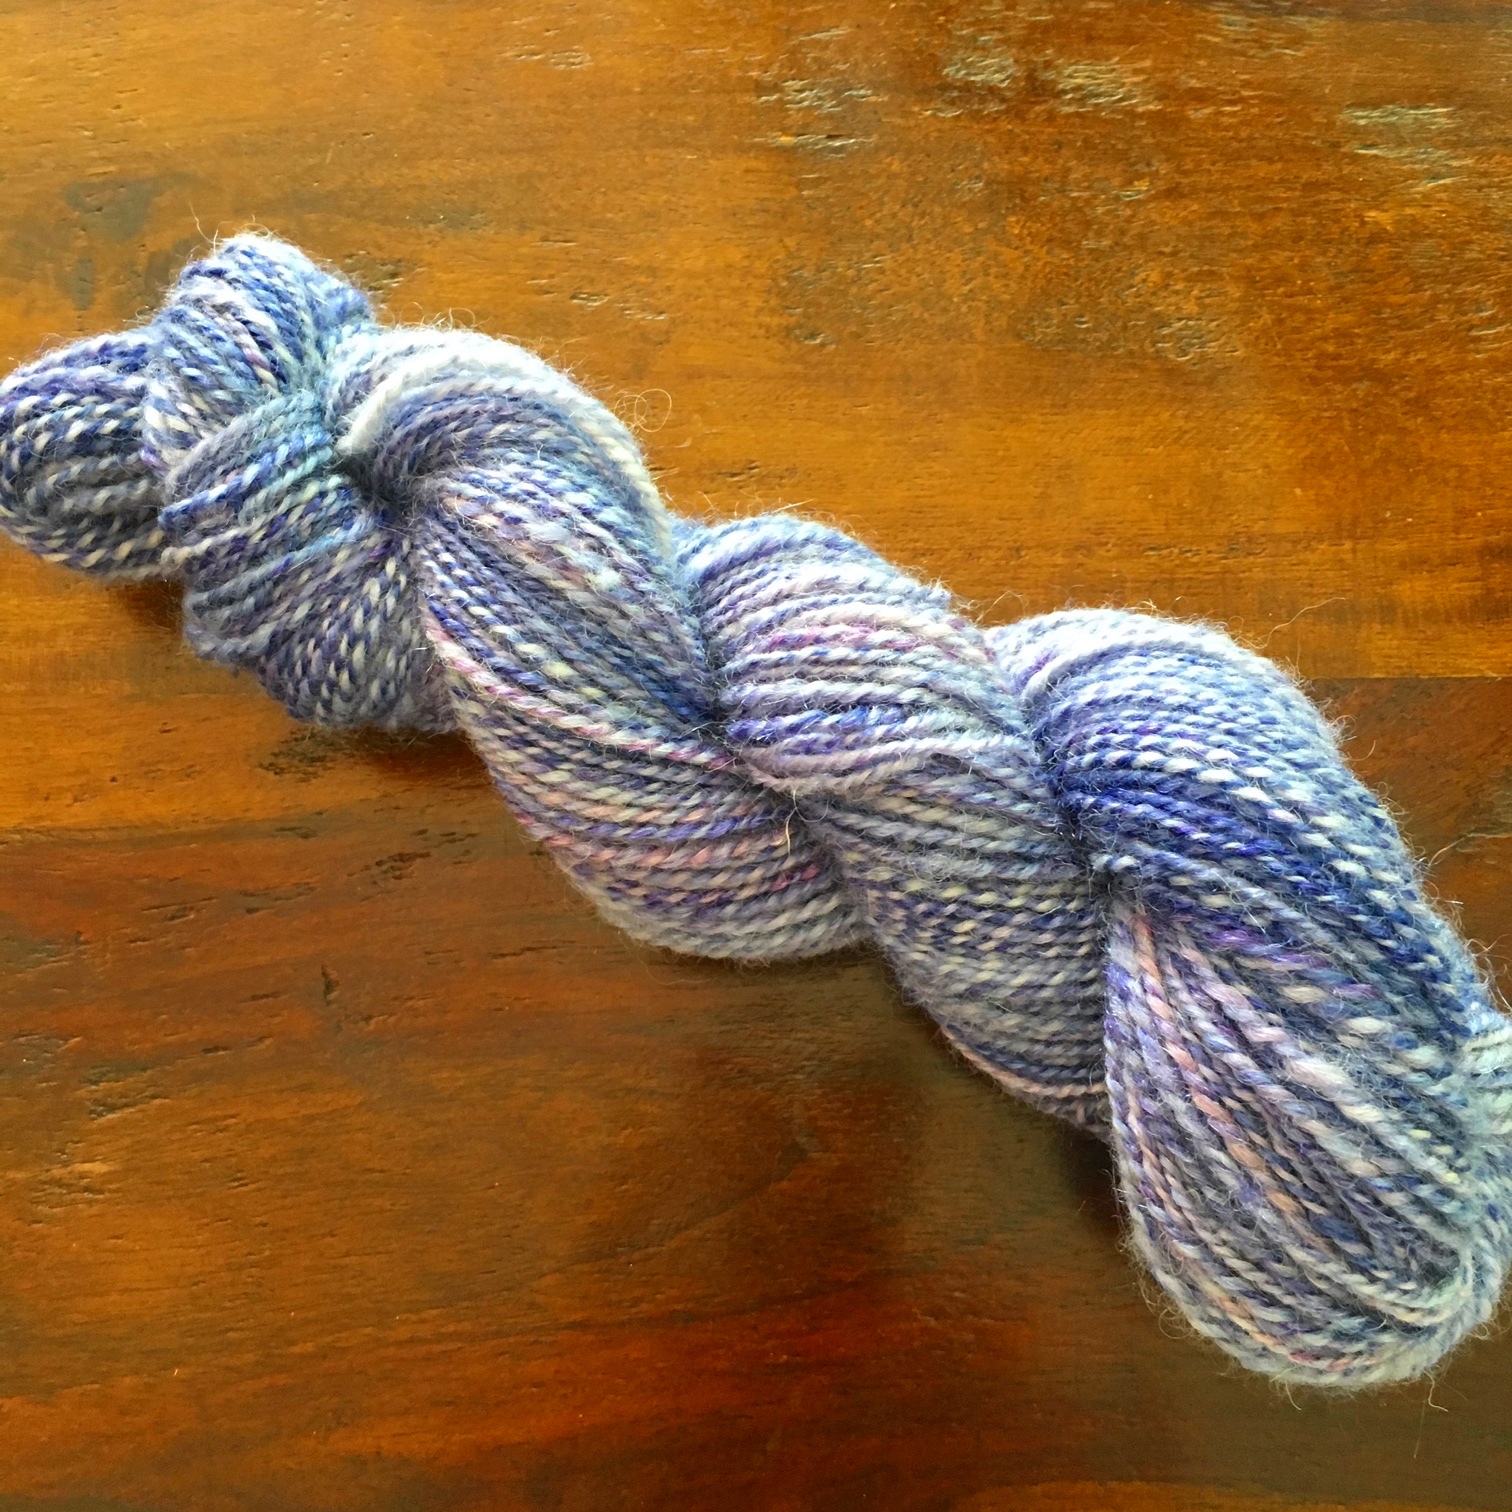
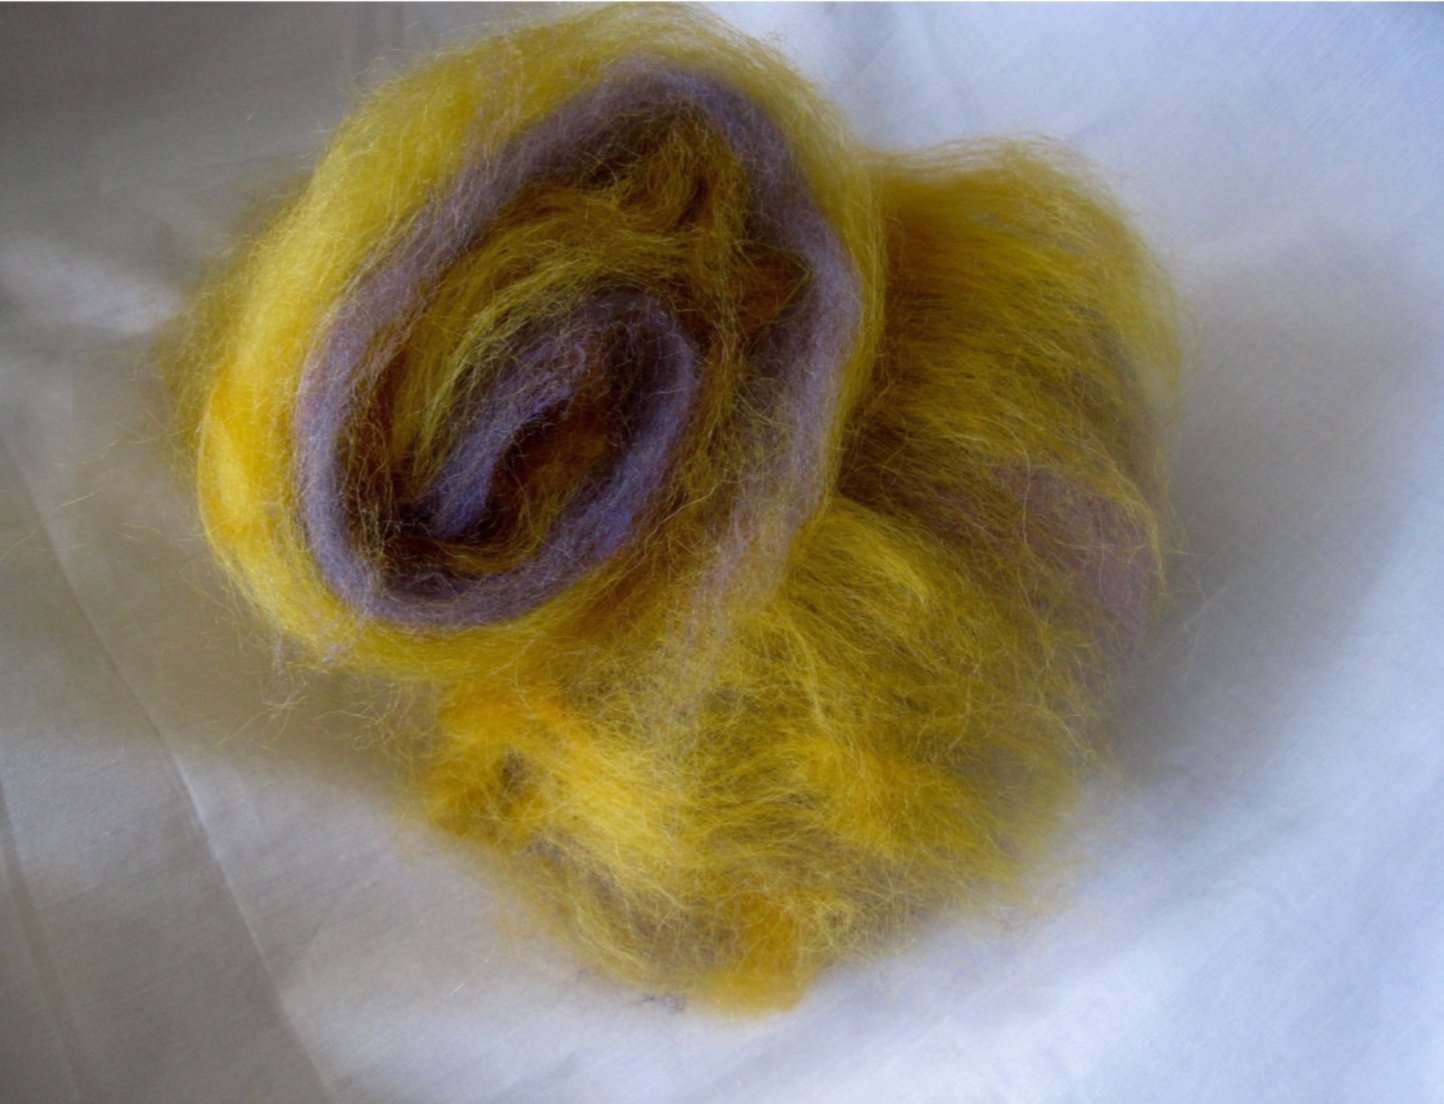
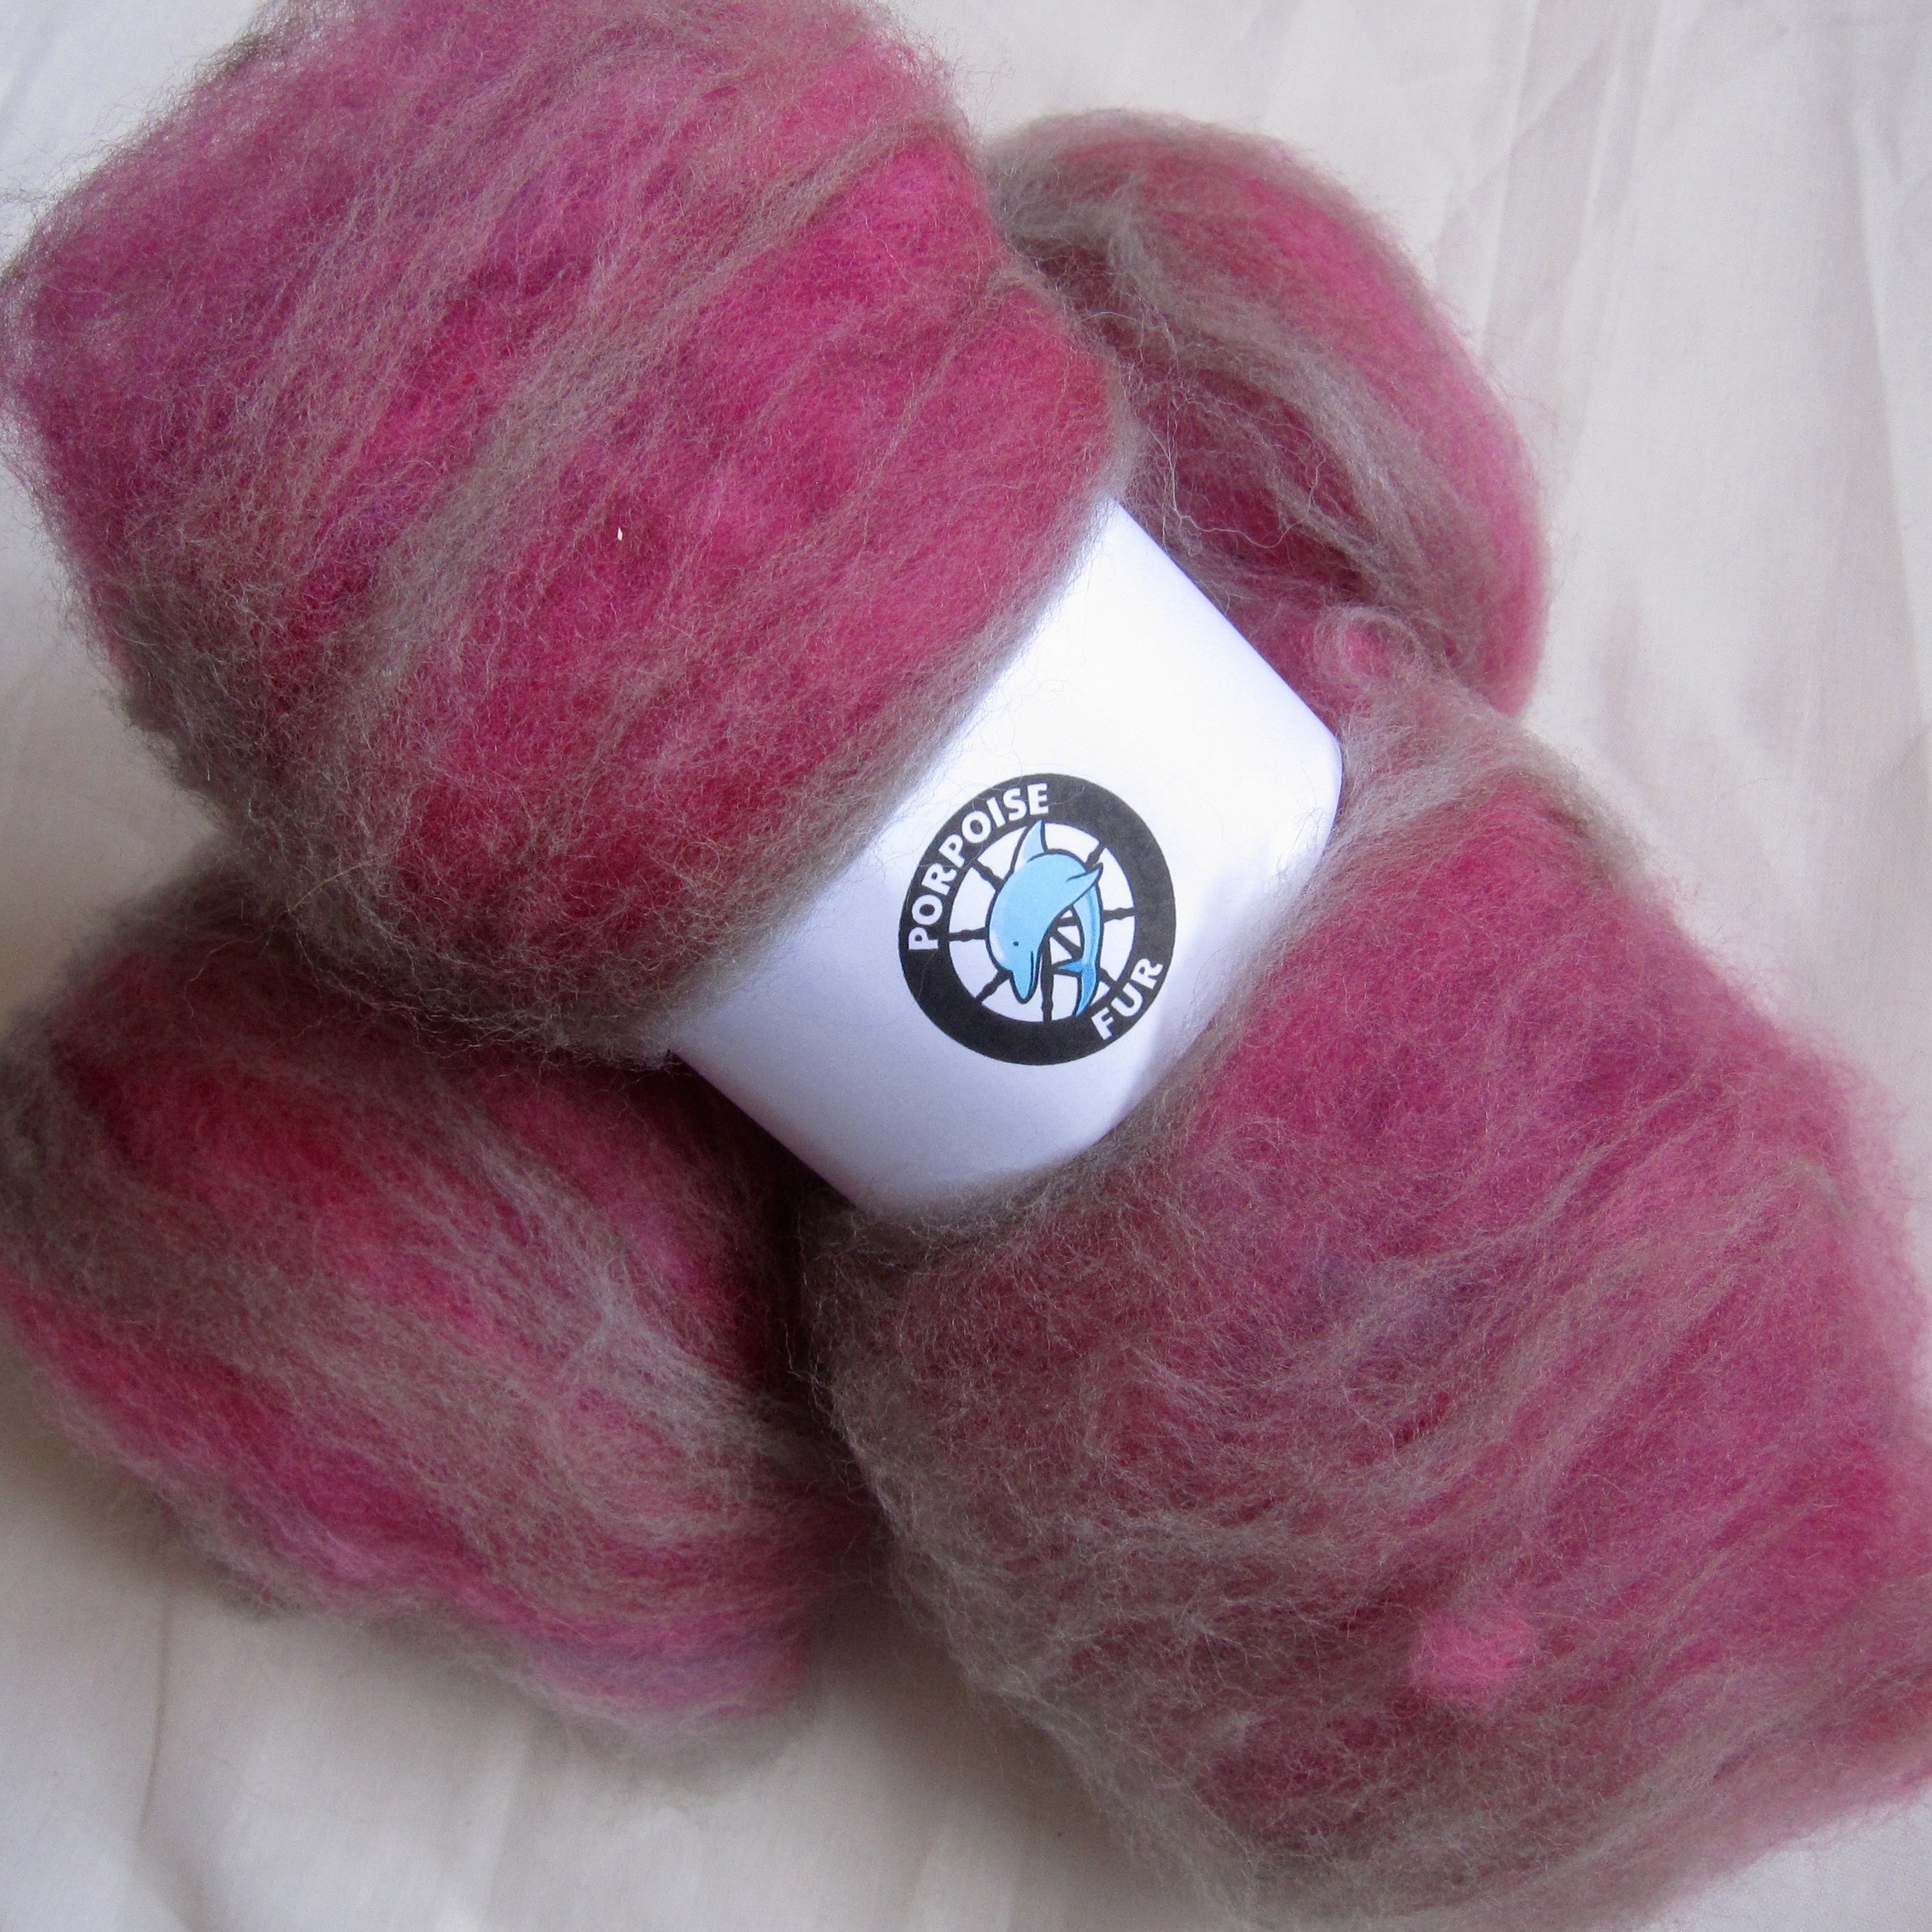
Moving to the second row of the gallery, Color 3 is 50% purple Charollais and 50% Wensleydale. Finally, the pi nk batts for Color 4 are 50% grey Shetland, 25% pink BFL and 25% pink Wensleydale.

4 skeins of handspun yarn in pale tan, green/gold, gold/purple, and pink/grey (from left to right)

Sort of a gradient

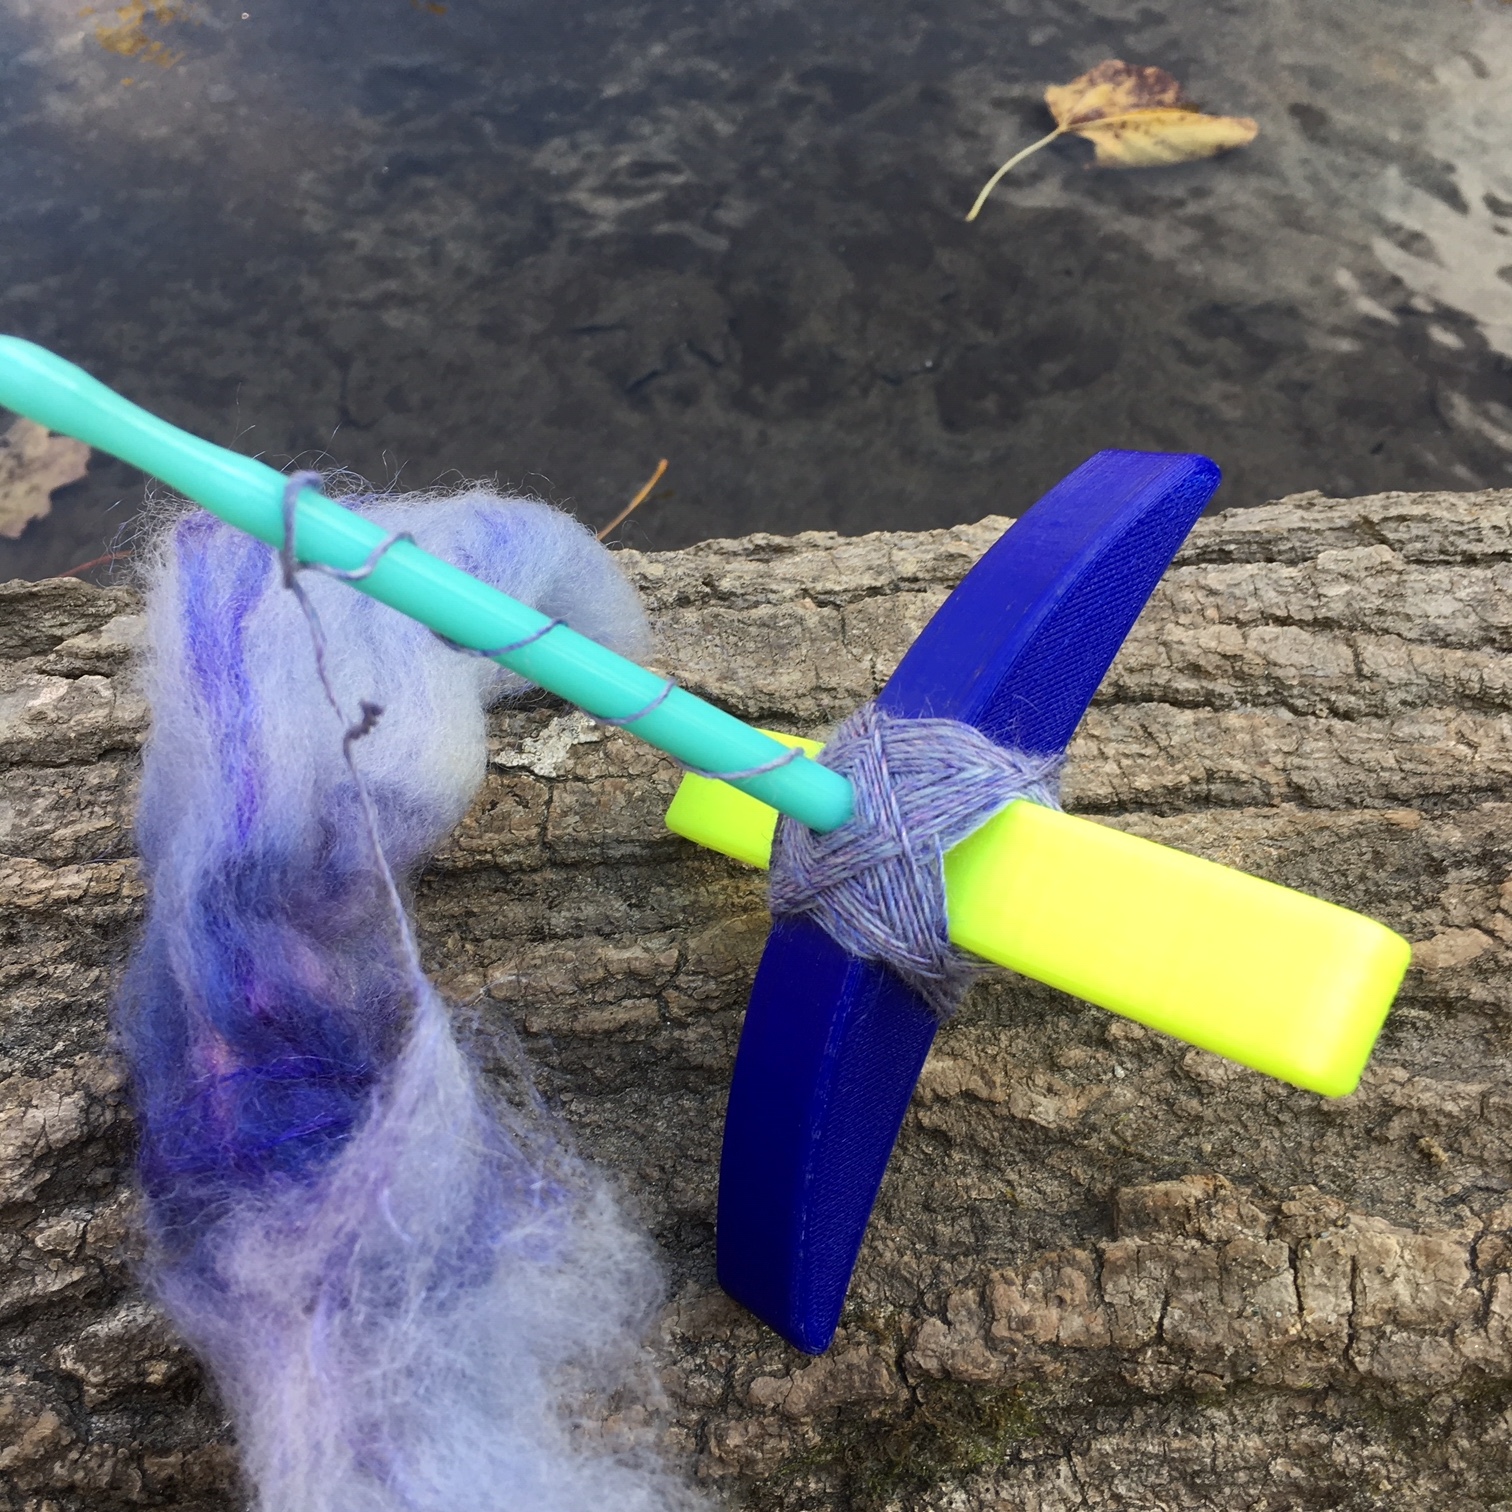
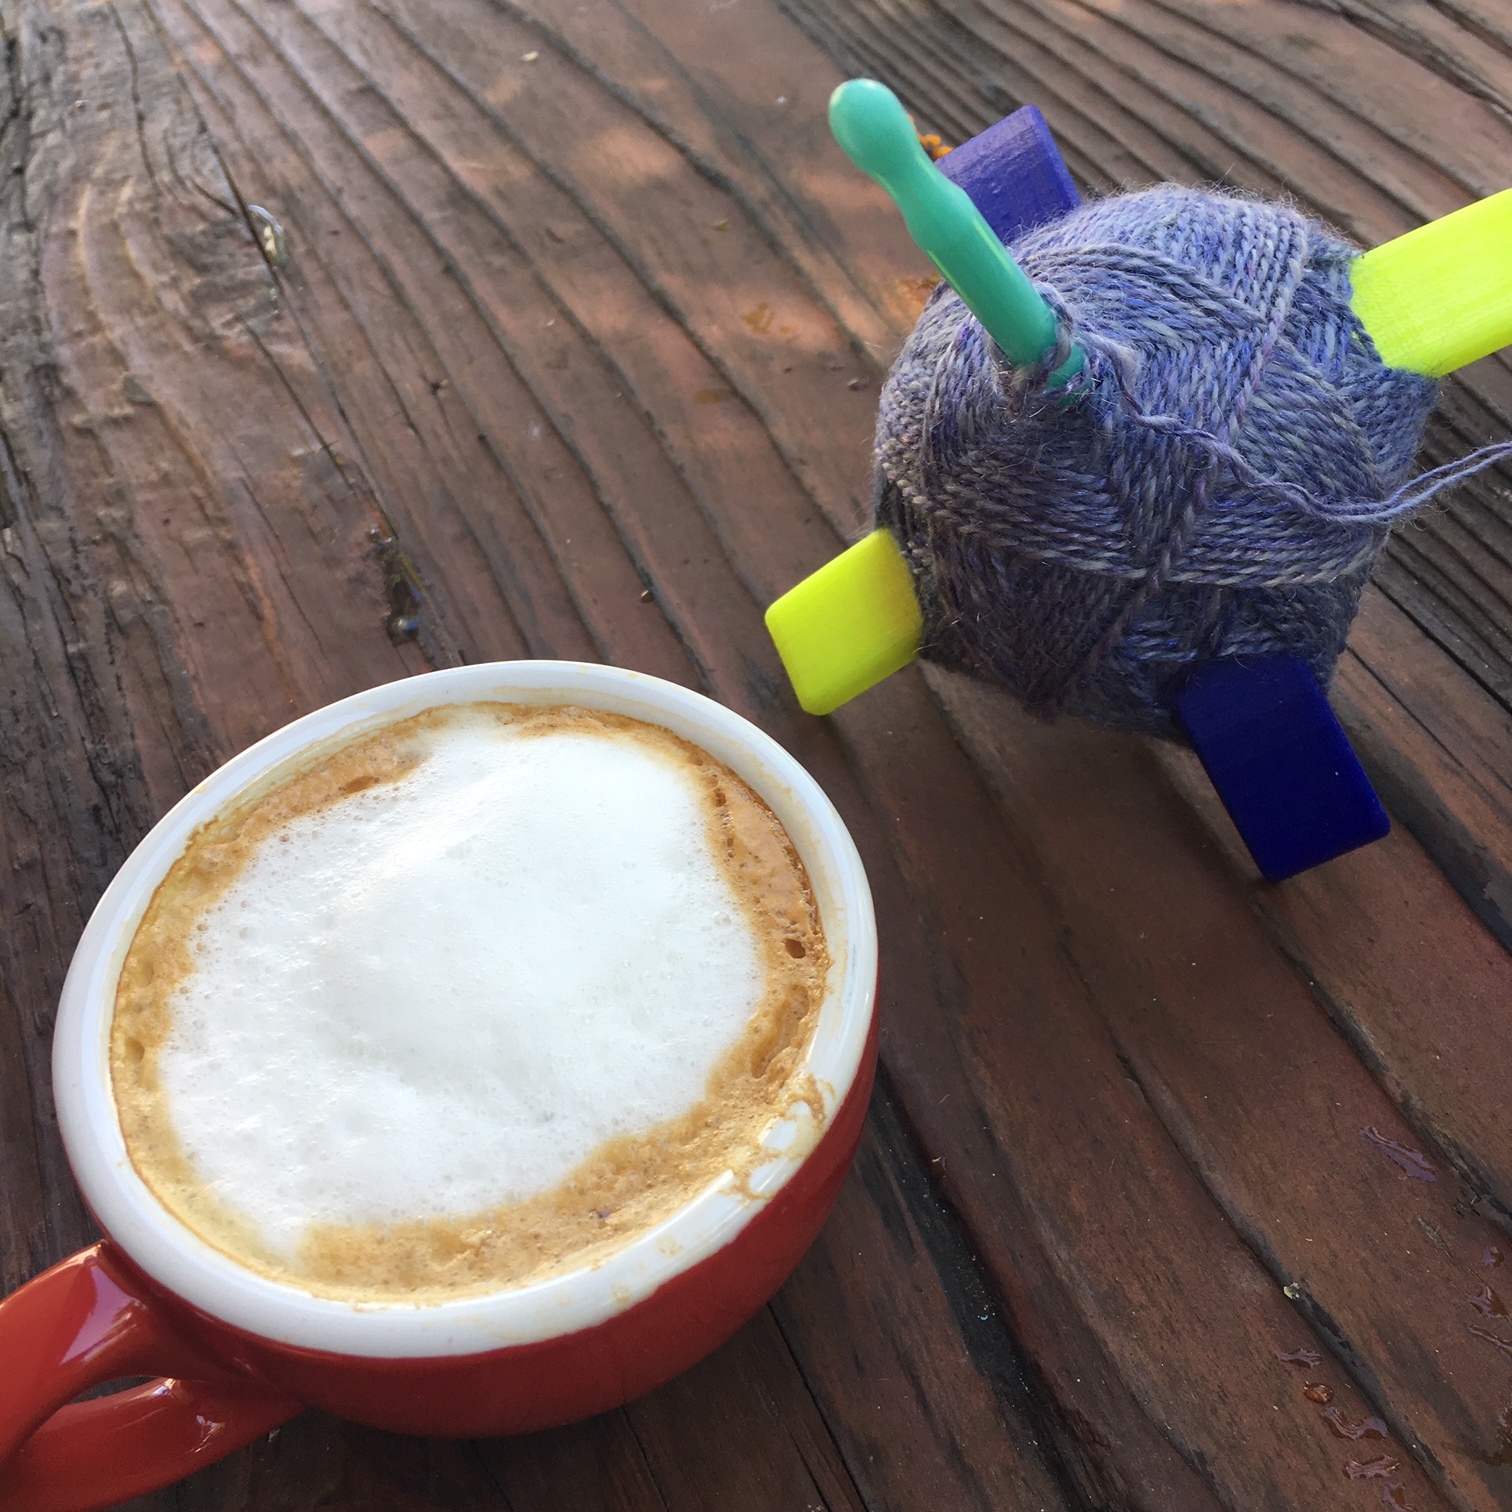
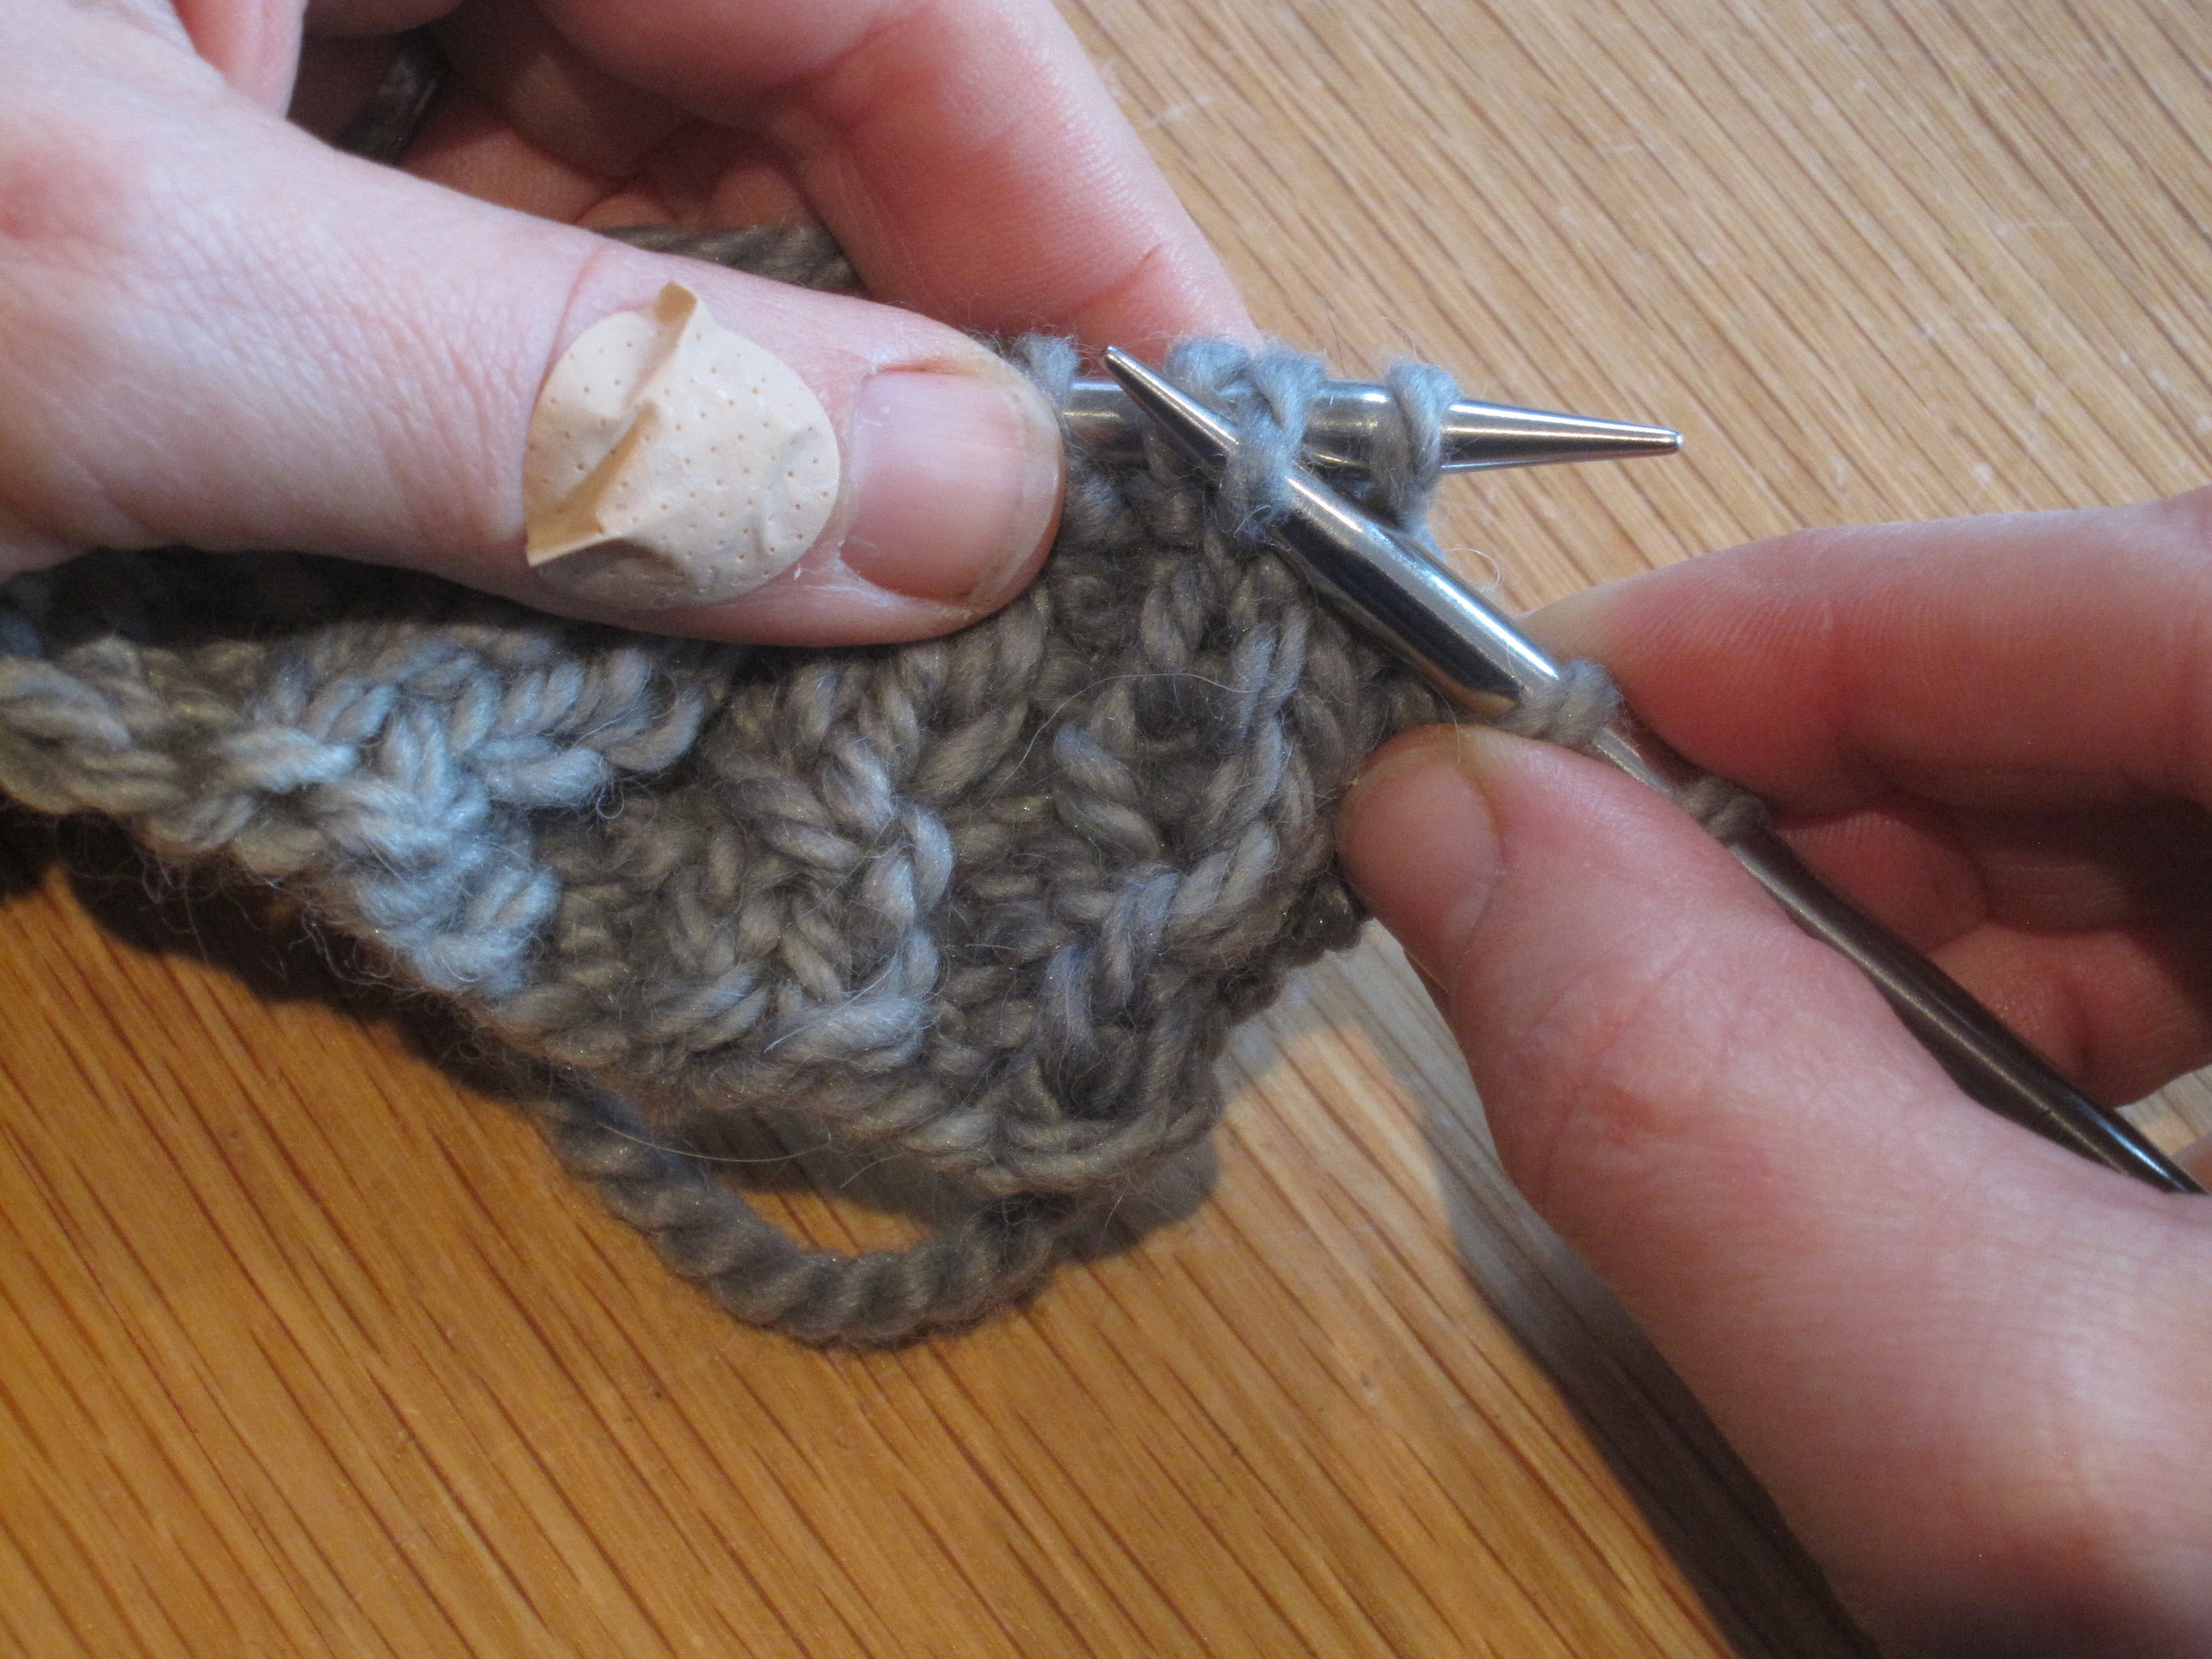
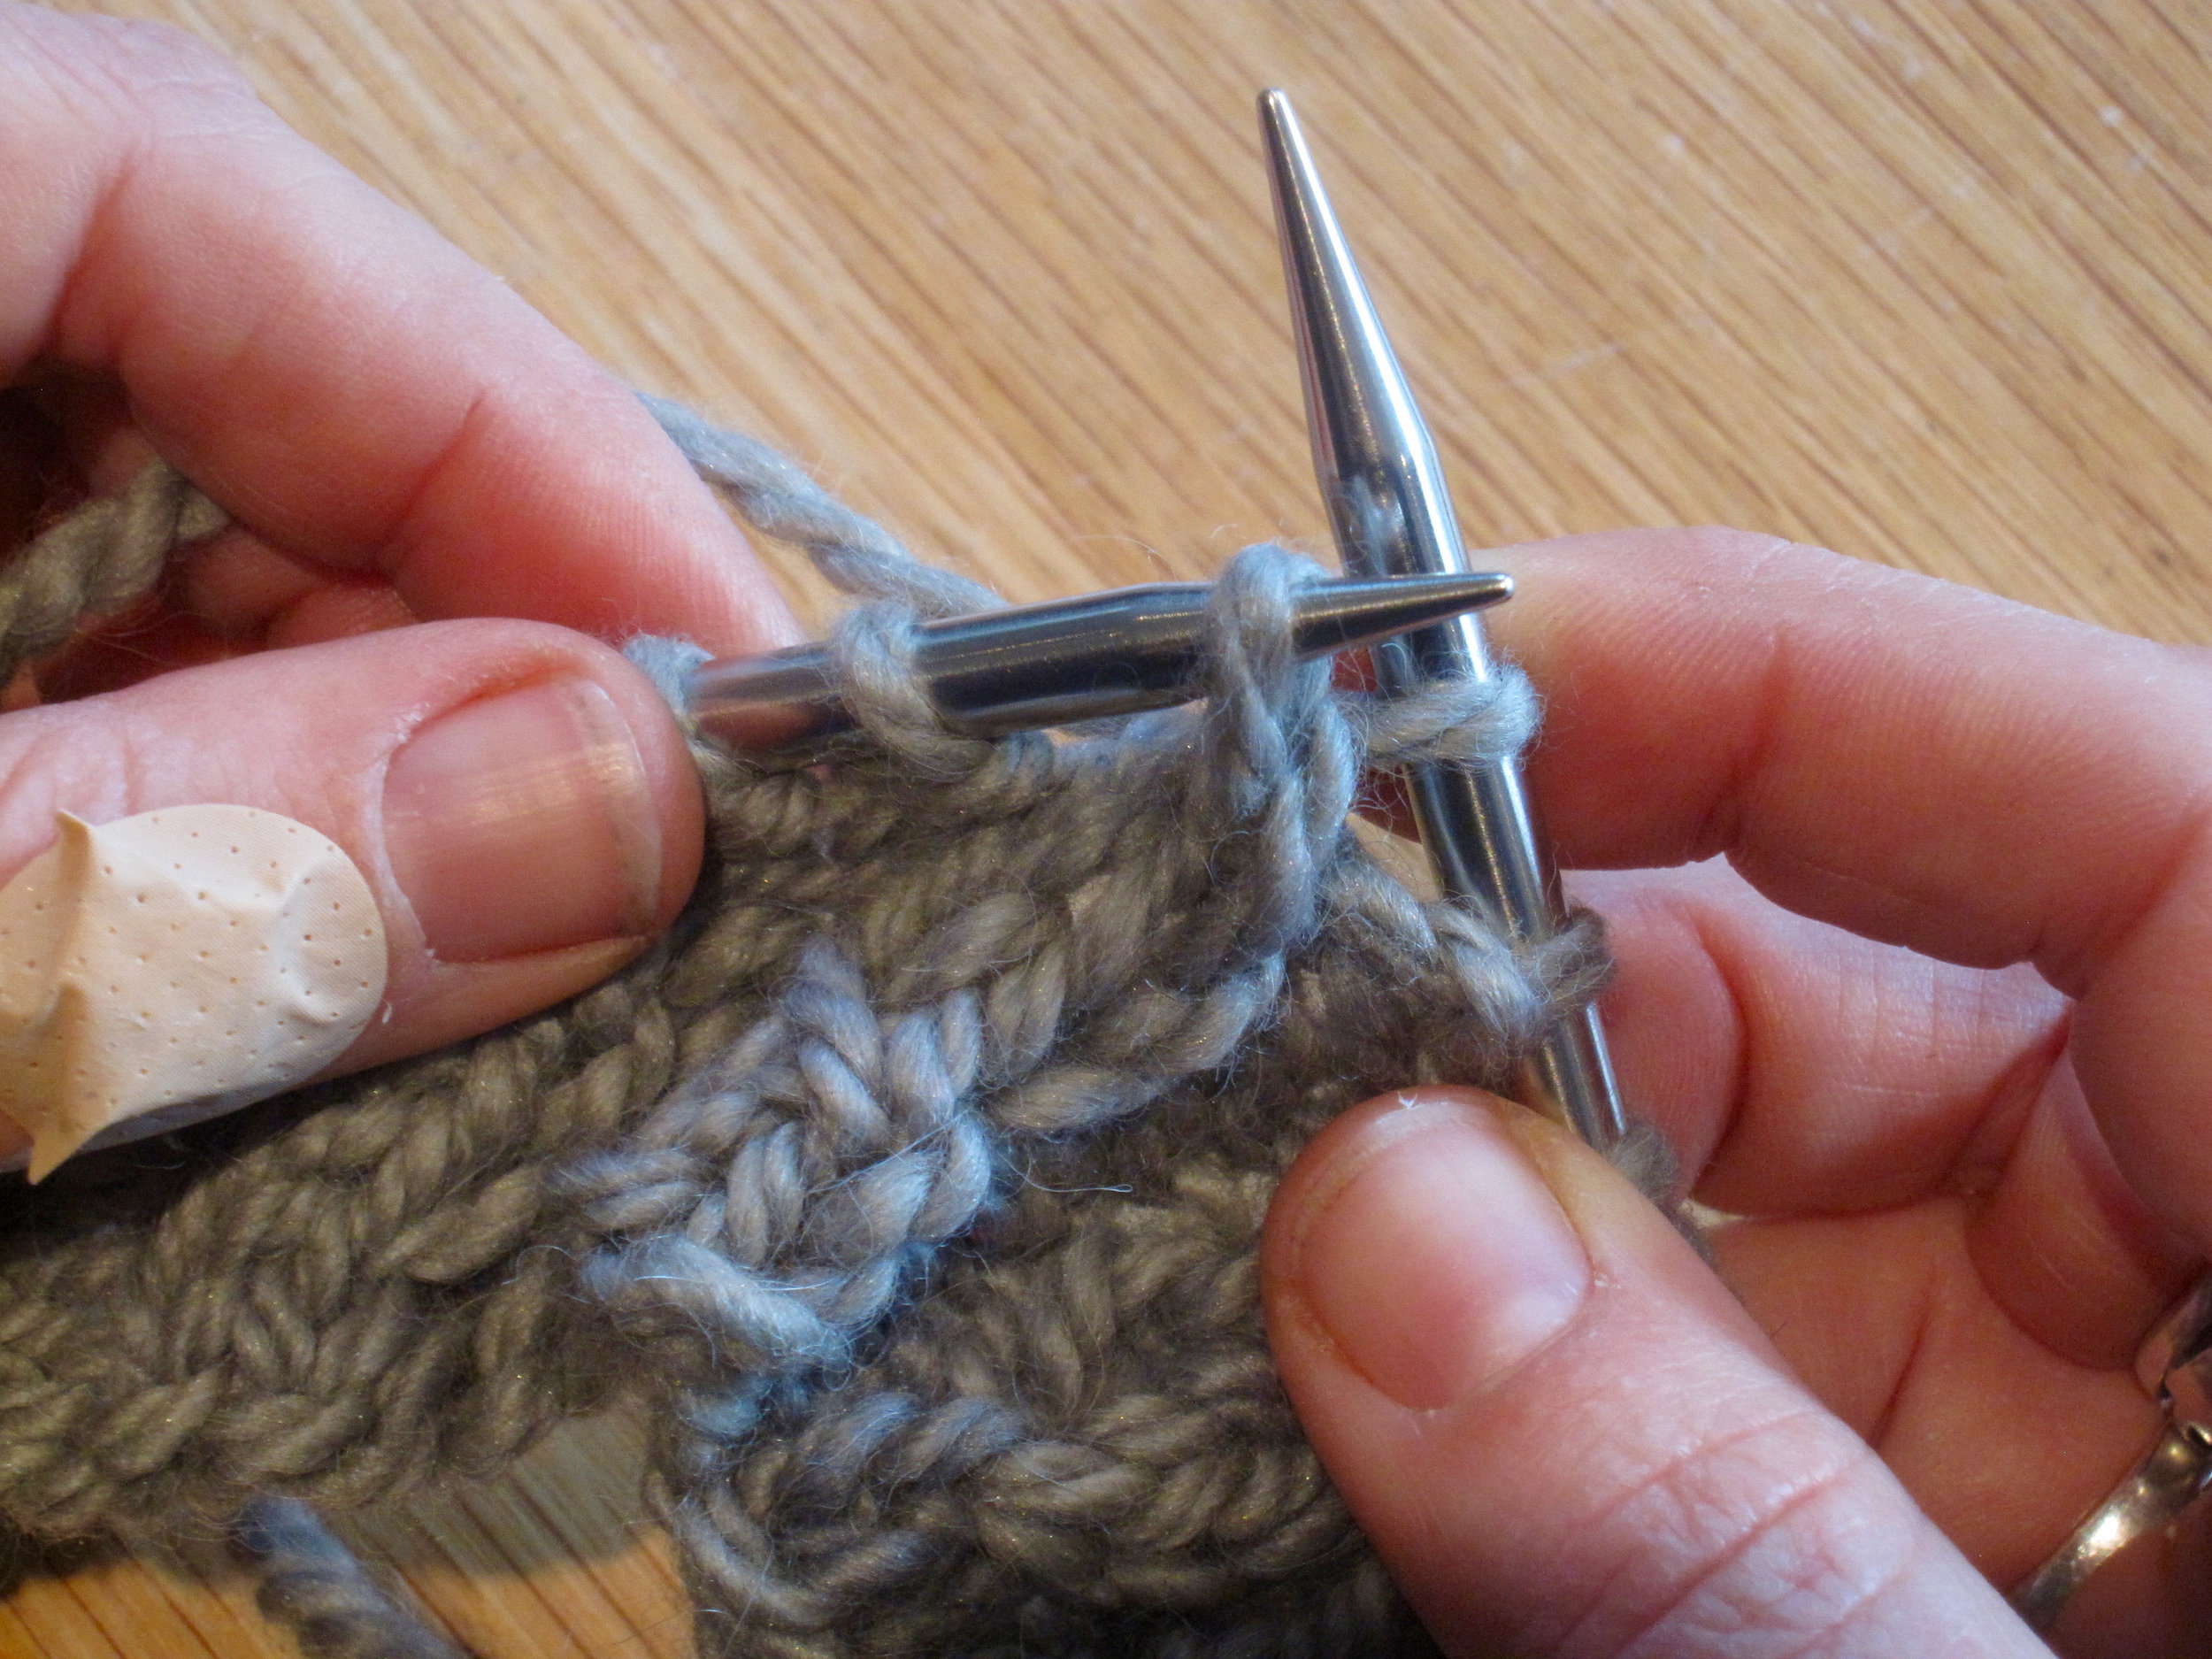
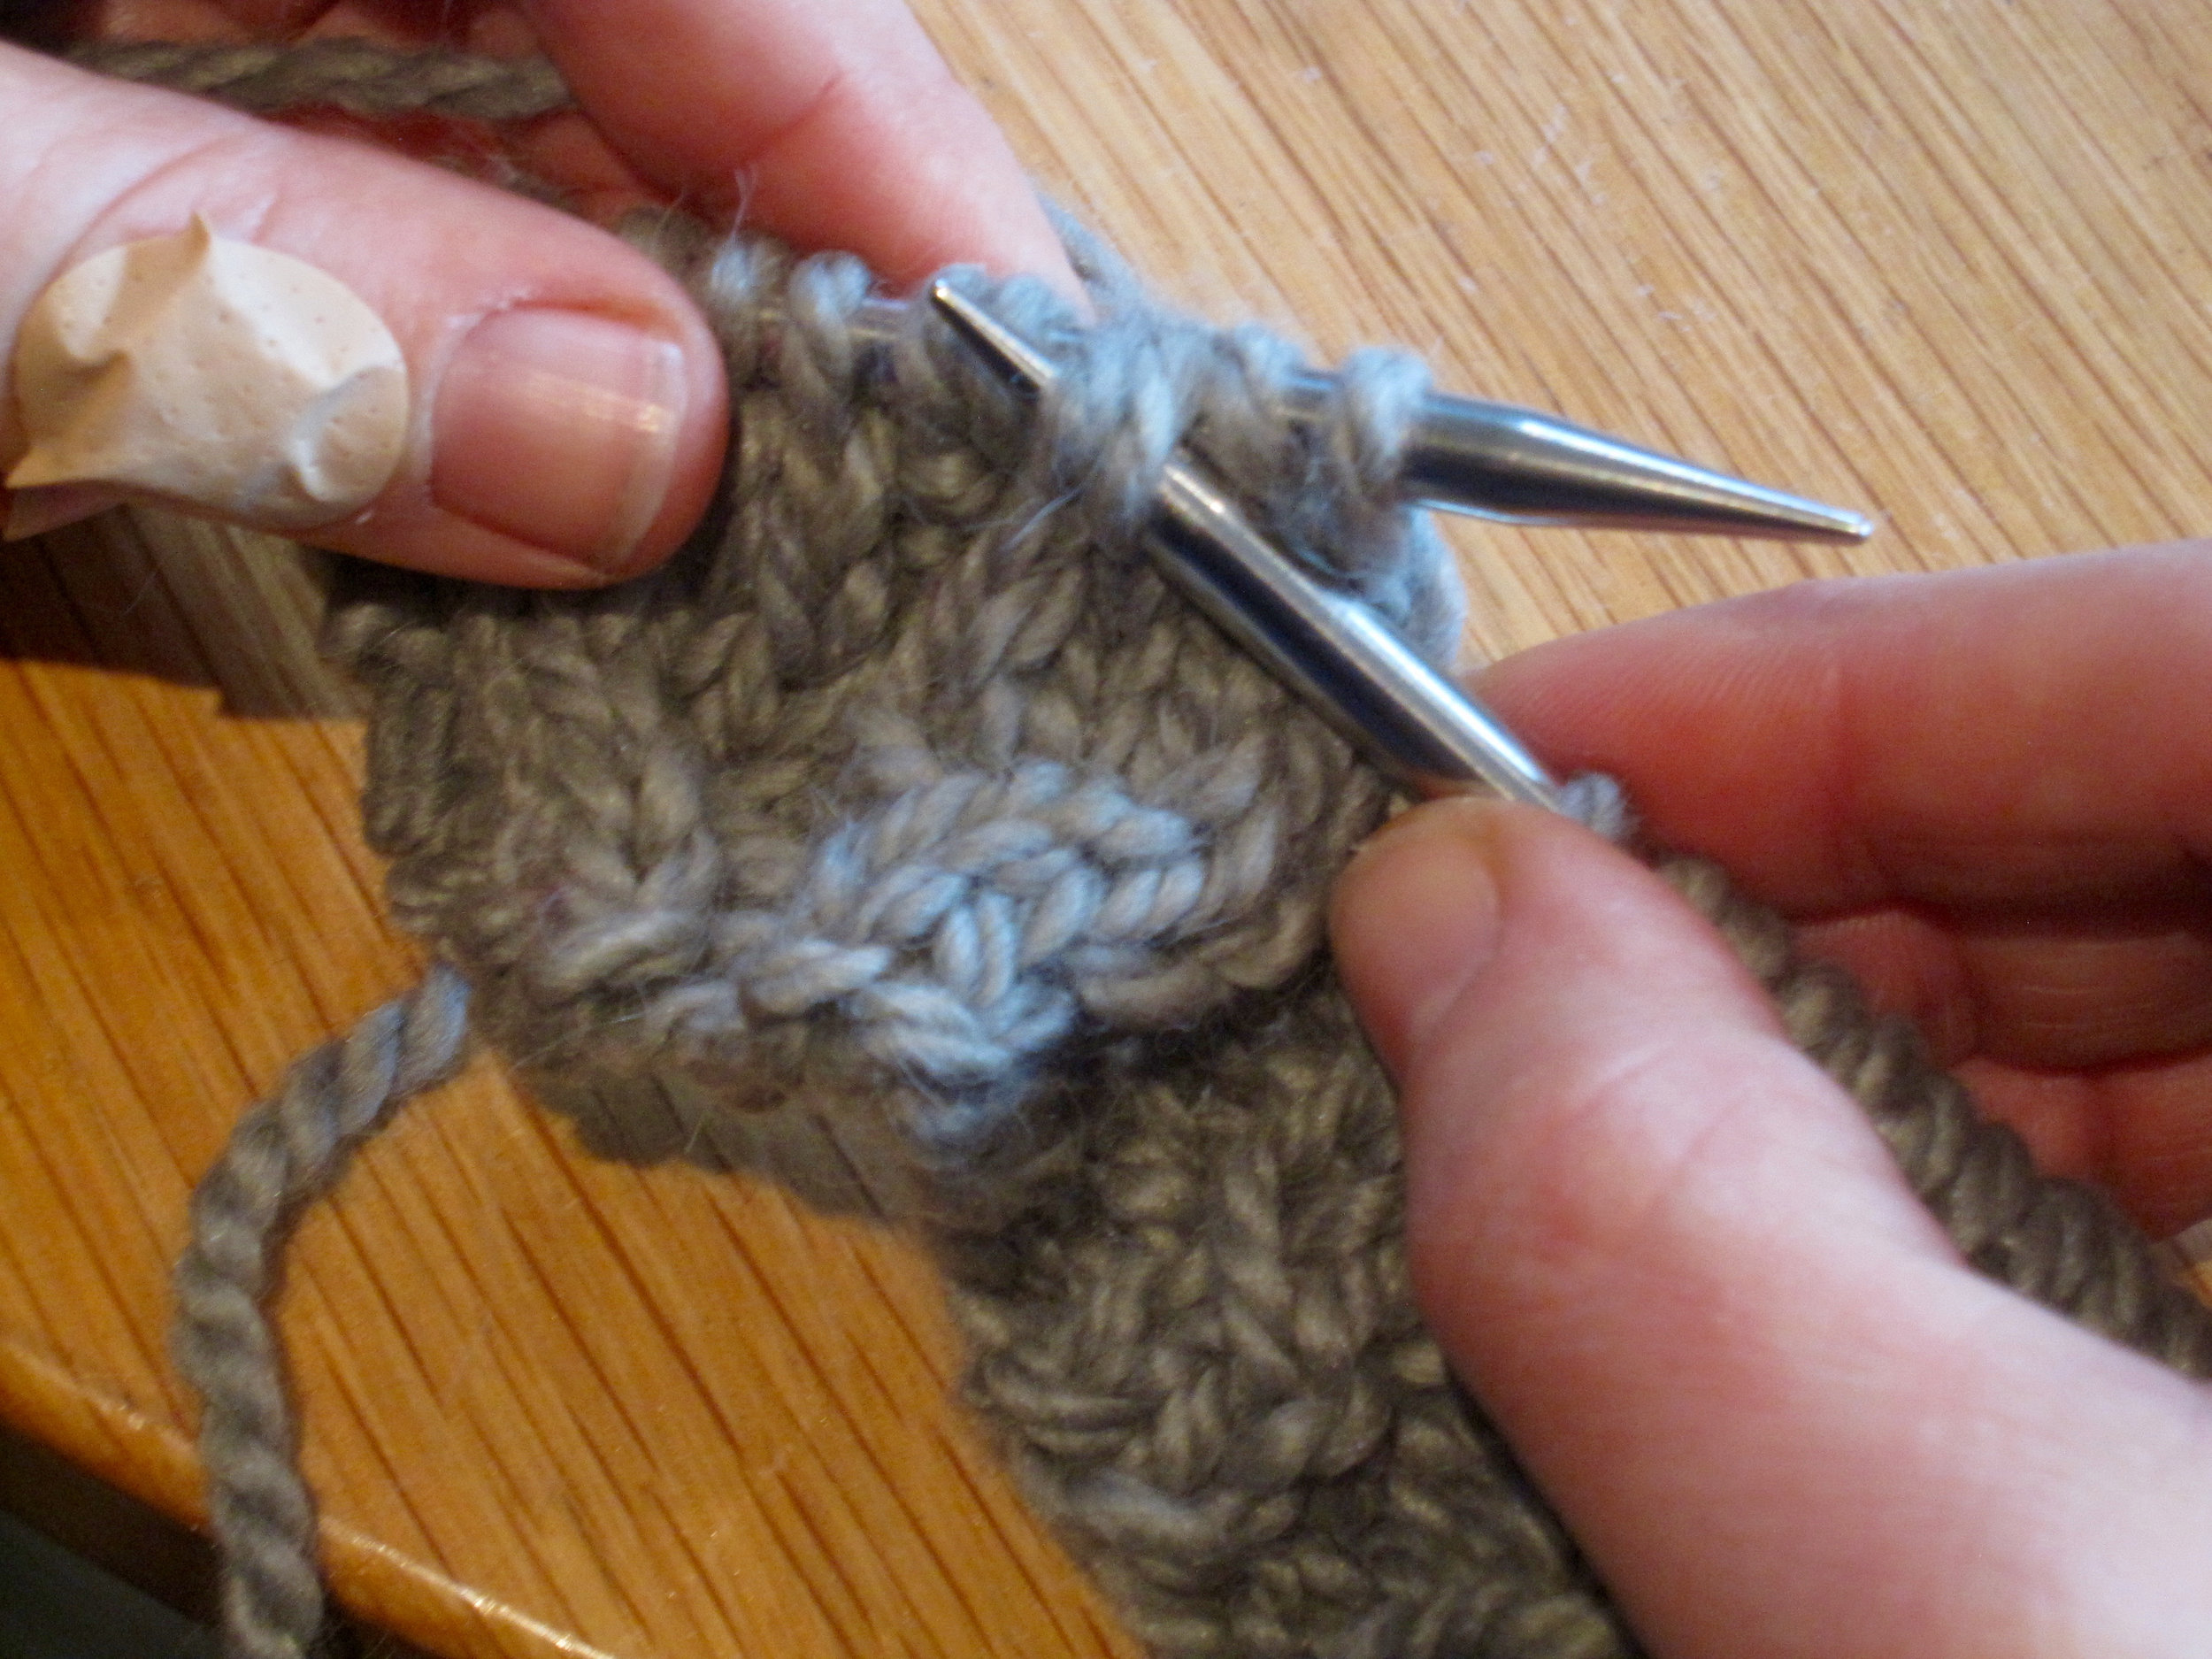
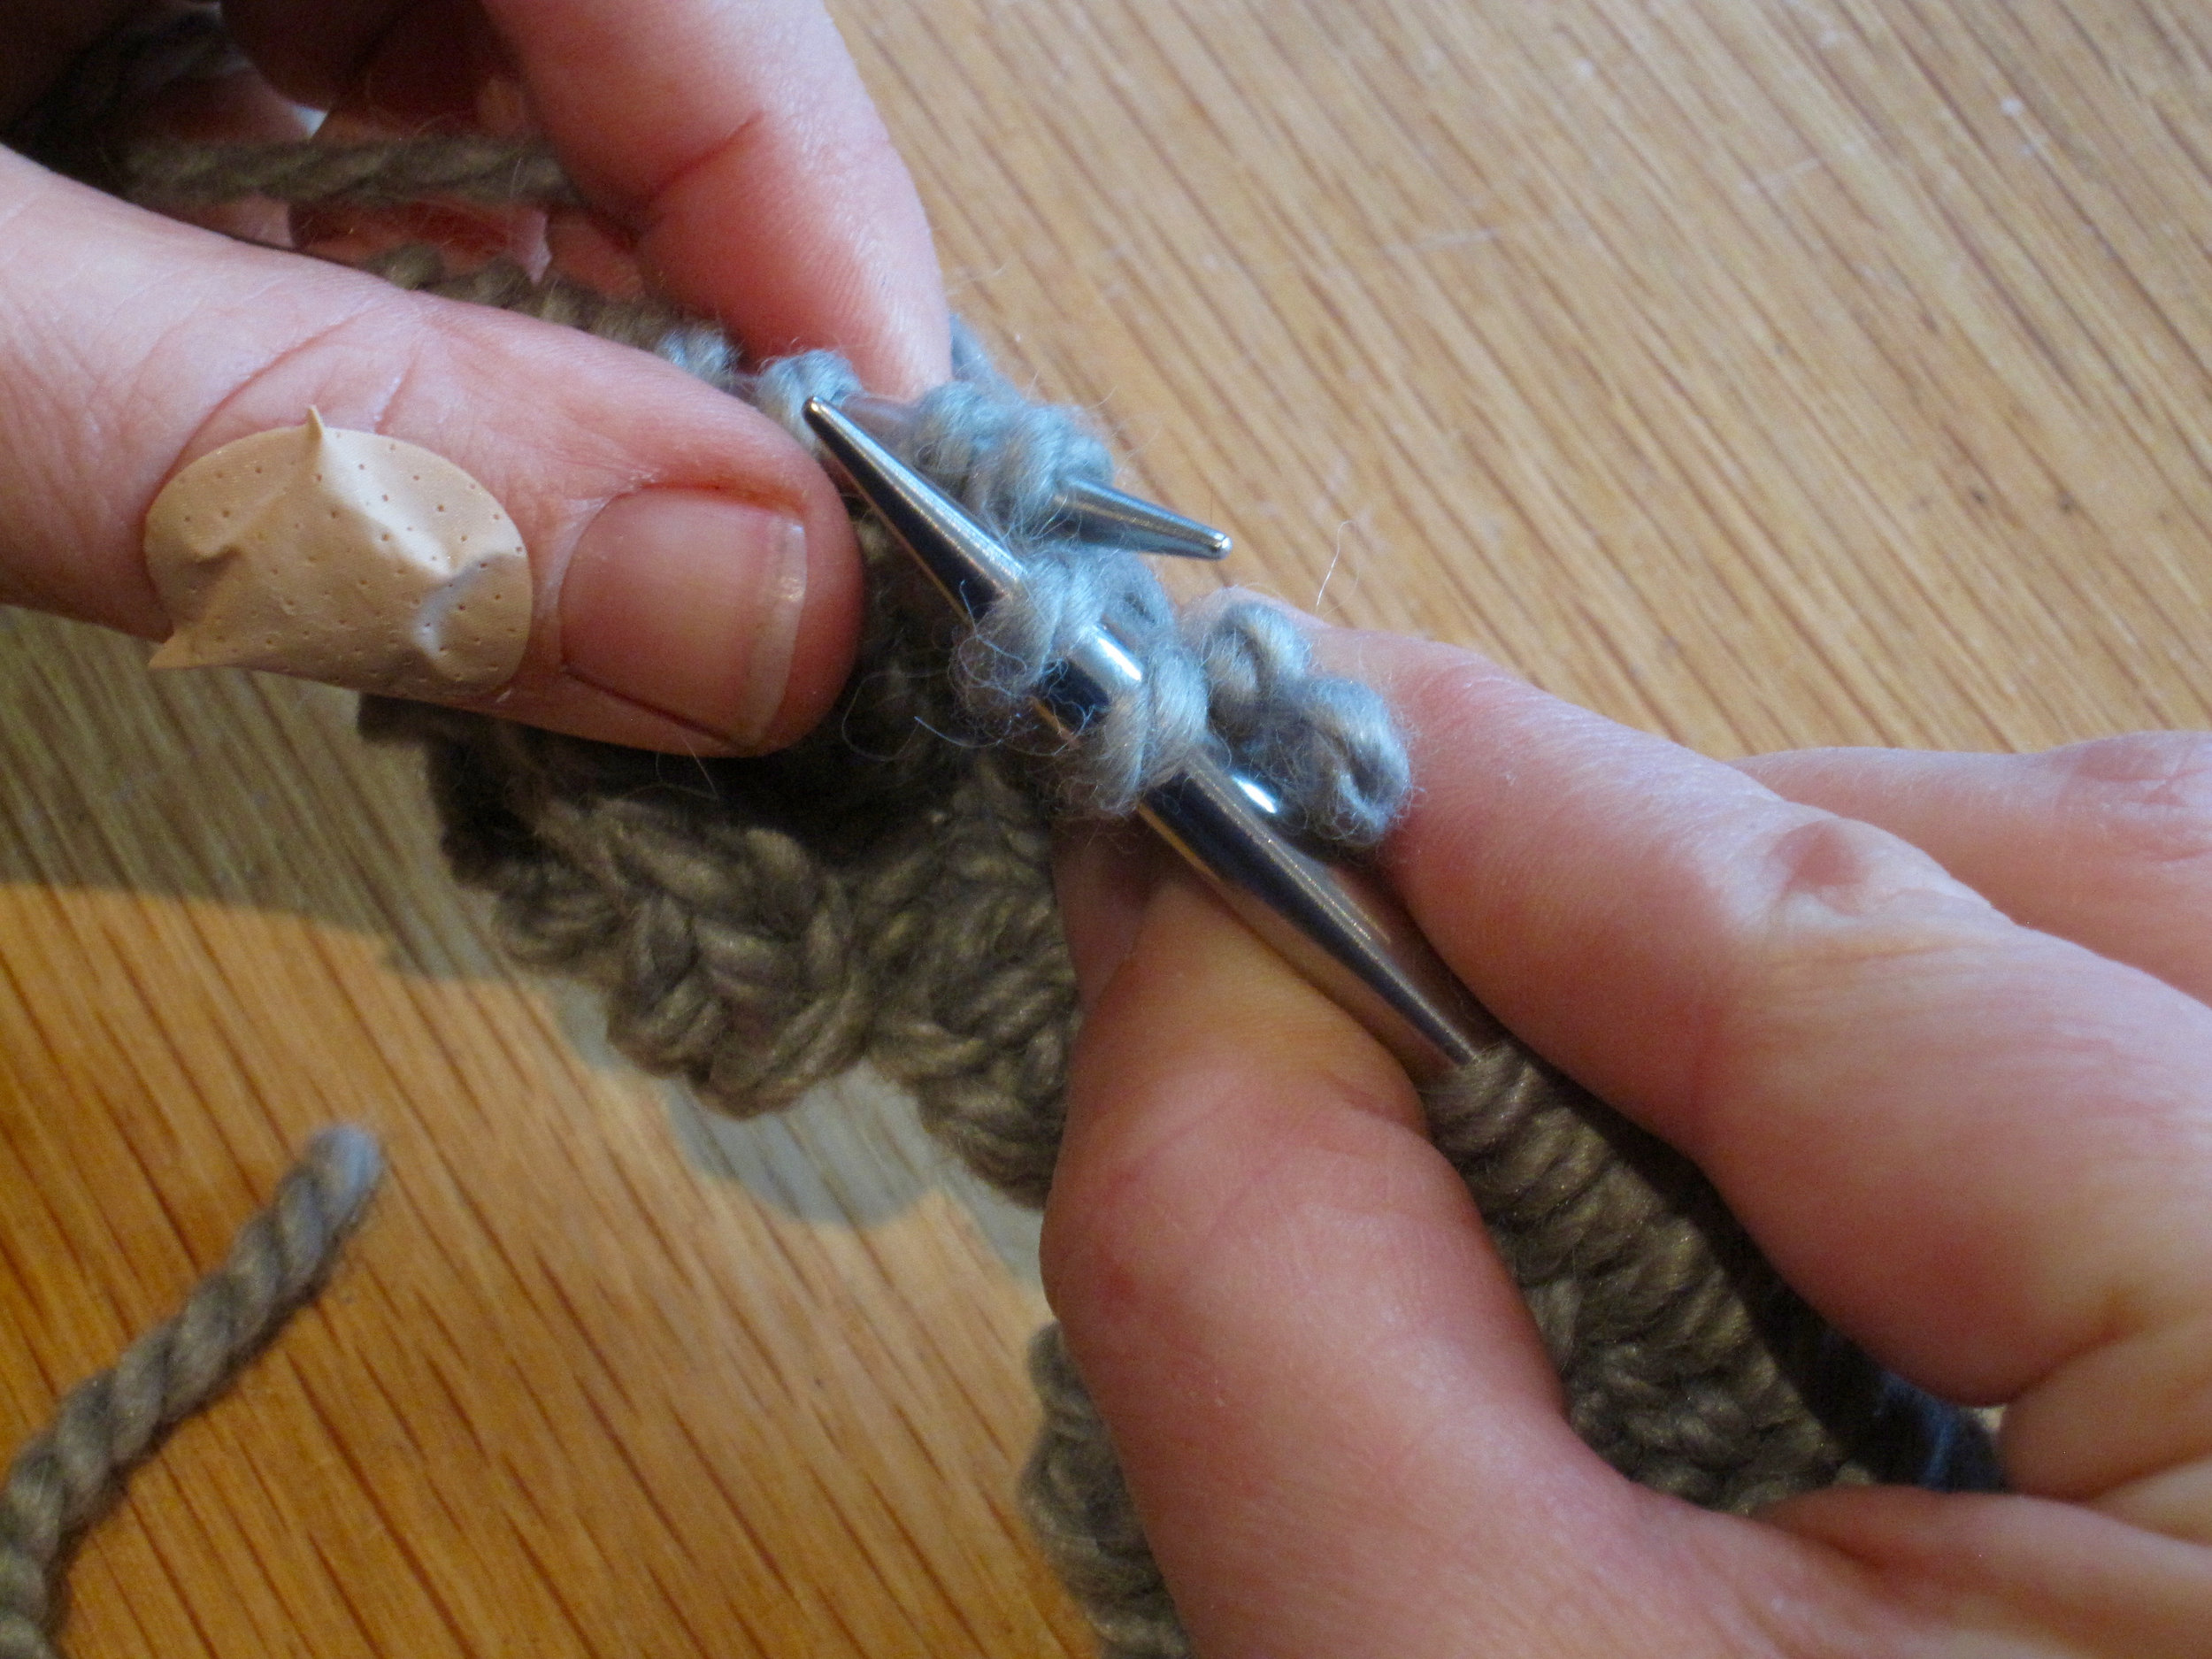
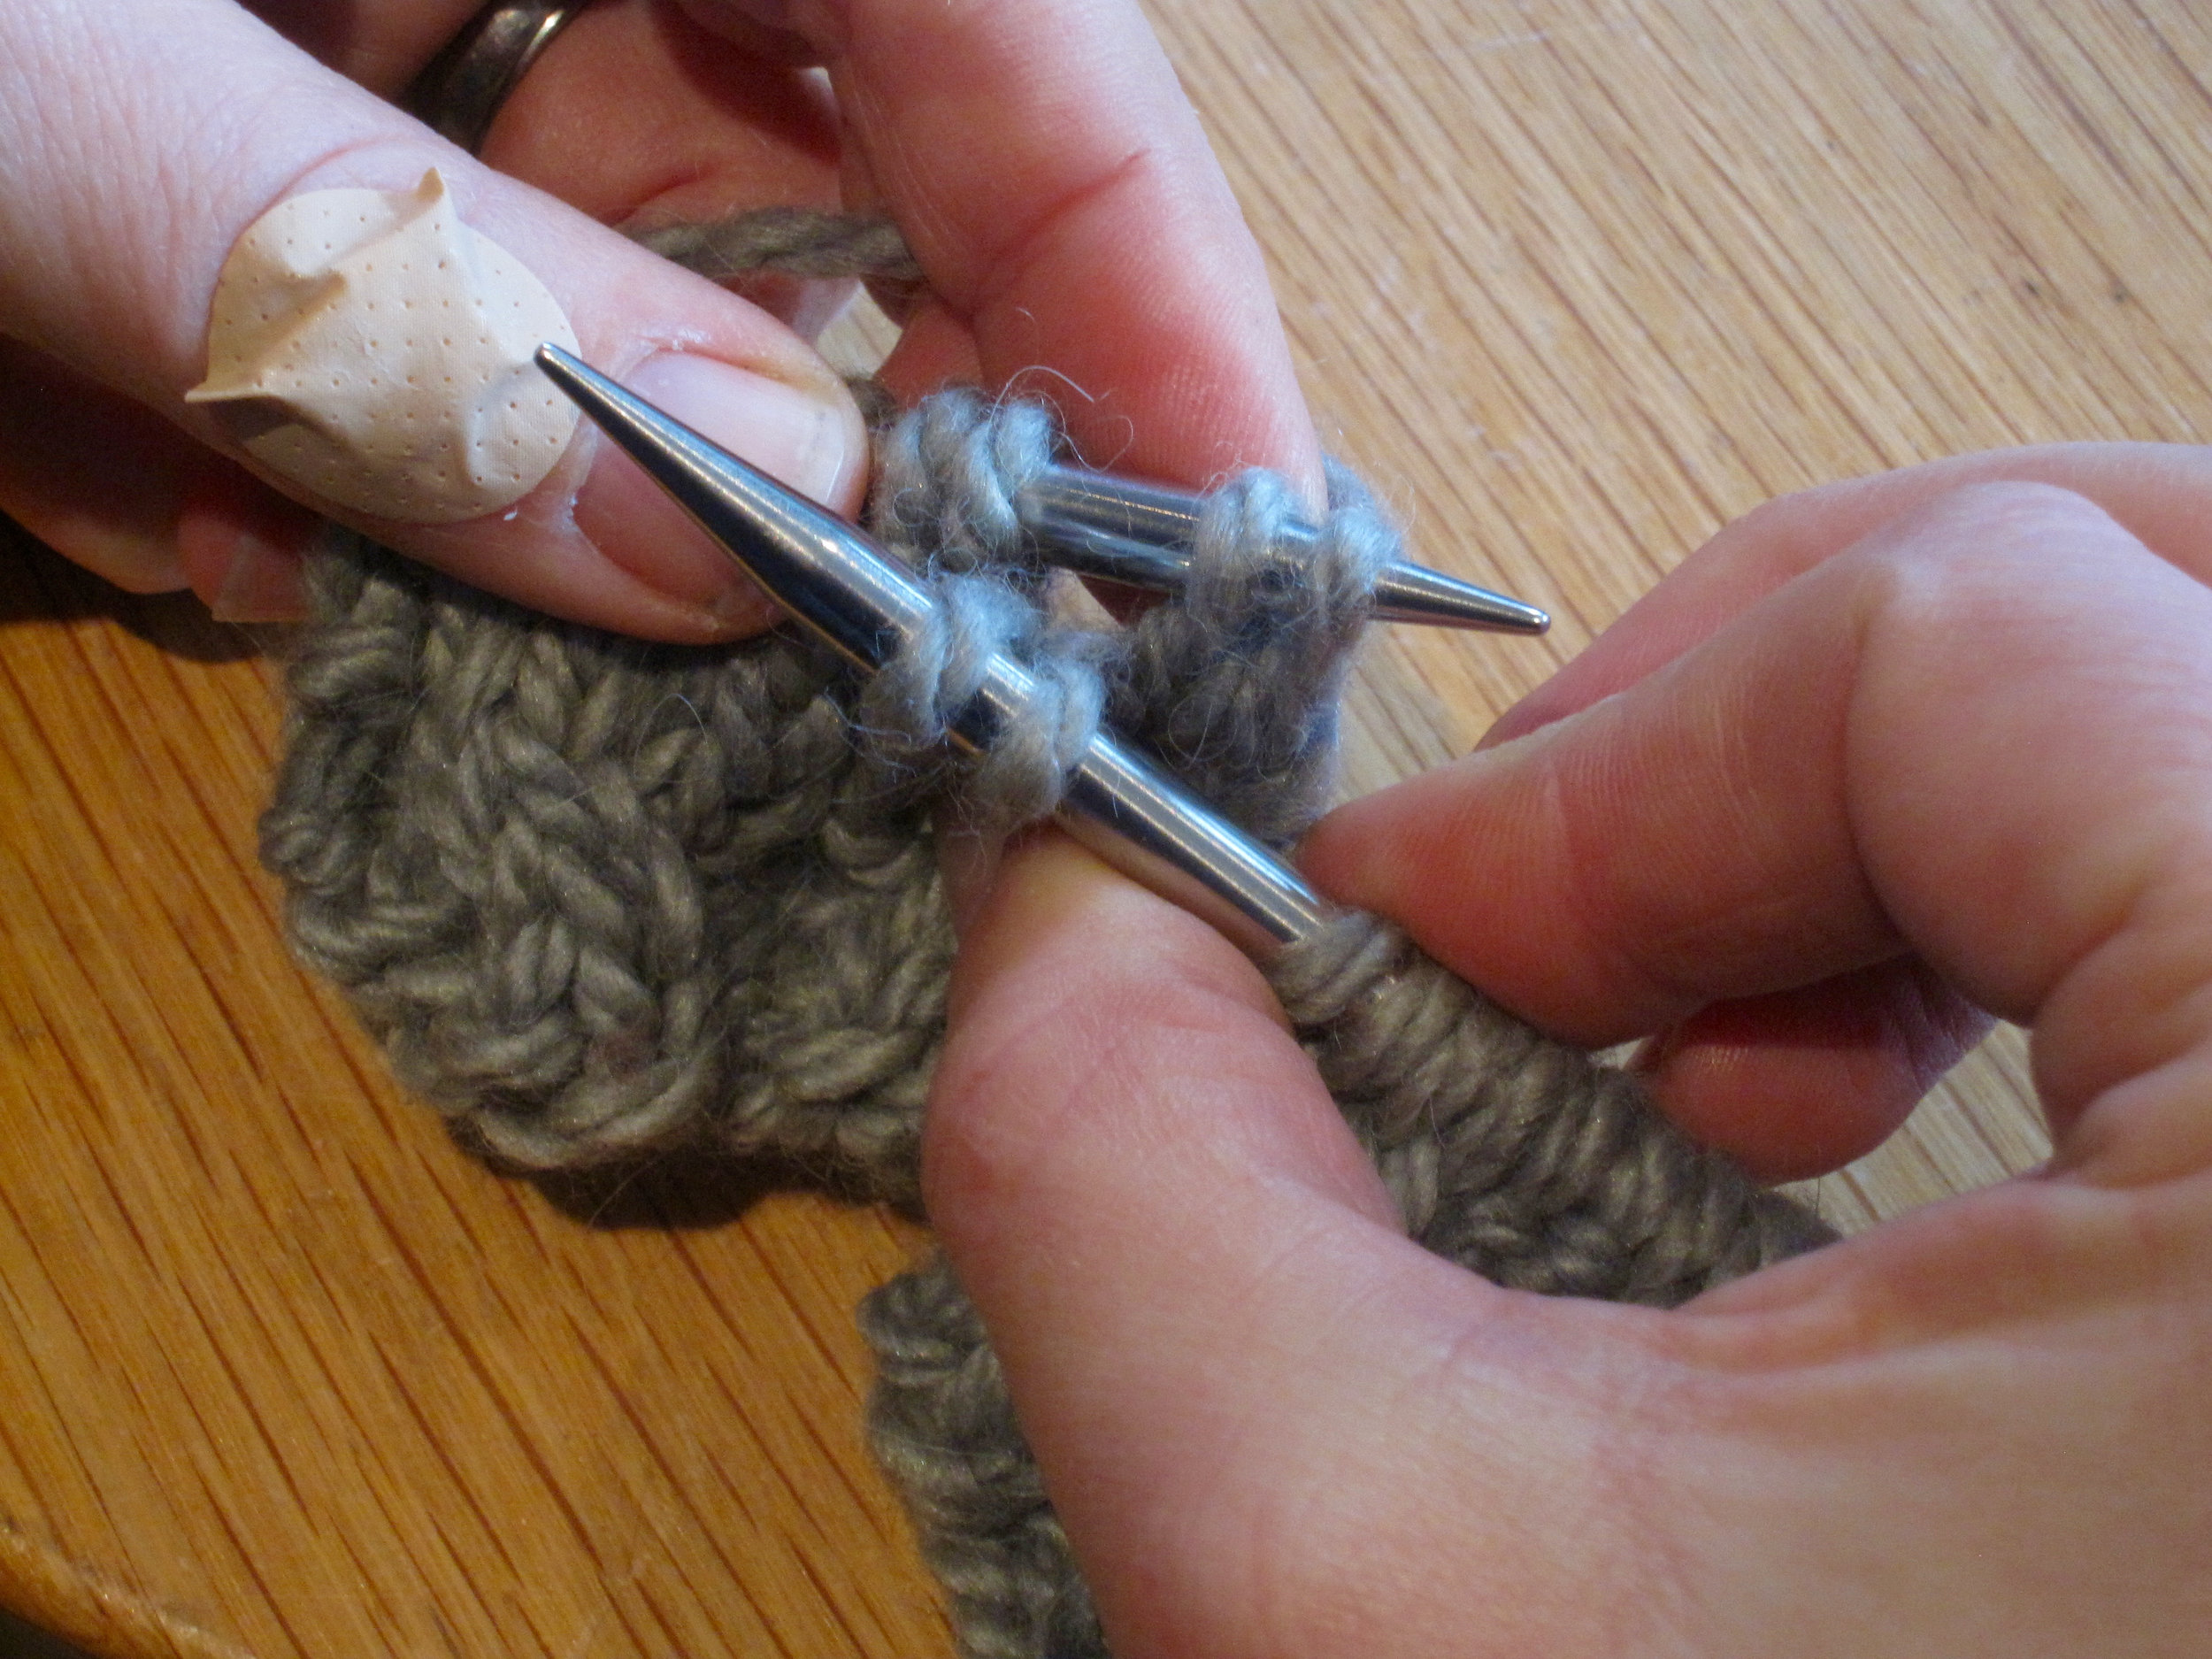
All batts were stripped lengthwise into 3-4 pieces and spun with a short forward draw at a 1:15 ration on may Lendrum. They were then plied at 1:12 on the same wheel - for some of them (#3 in particular) I probably should have plied at a slightly lower ratio as it’s somewhat overplied, but so be it!

The good news is that I had a really good time spinning these batts and it’s great to have them spun up as examples of what happens with that type of color layering.

The bad news is that I don’t have enough yarn for the KAL - I needed about 380 yards of each, and what I ended up with is well short of that (Color 1: 290 yds; Color 2: 186 yds; Color 3: 177 yds; Color 4: 299 yds). It’s a good example of how longwools (like Wensleydale) can affect yardage - I find that they tend to create a very dense yarn, without the loft and spring of something with some more crimpy fibers like Corriedale.

So now I will have to stop by a yarn store this week and grab myself some skeins for the KAL - such a sad state of affairs! It might turn out that I have enough here to do the shawl, but since I don’t have any idea how much yardage of each color is needed, I’m not brave enough to start off with these and hope for the best! If it turns out I don’t have enough, I think the first and last colors will work really well together for a color work project - I have a bulky cowl design I need to get out that they might work well for if held double?

Comment
Share

Back to the spindle

The last few months have been (as you might imagine) a bit of a whirlwind. My stash and I are currently on opposite sides of the world (both the small stash in Maine and the larger stash in the UK), and it’s currently 35 degrees C where I am, so there is a conspicuous lack of holiday crafting going on.

What I have had with me in the last couple of months is my lovely 3D printed Turtlemade spindle (a gift from Alli via Cat & Sparrow) and a bit of Porpoise Fur fibre that had been languishing in the unsold stock pile for quite a while.

The fibre is 70% Bluefaced Leicester/30% trilobial nylon. It spins like straight BFL, but the nylon adds some sparkle in interesting ways - it isn’t a fully mixed blend, so there are streaks of nylon in the top that shine, a bit like a silk blend.

So over the past two months I’ve slowly worked away at this 100 g, and this week I finished the singles and the plying! I managed to fit all the singles onto my not-very-large spindle in a monster cop,

wound off on an improvised niddy noddy,

and ended up with 164 yd/150 m of lovely, perfectly balanced (!), DK to sport weight yarn.

It is very well timed that I’ve finished this yarn now, as I’m about to head off to Cairns which has a dearth of yarn shops. Now I have something to knit with, the question becomes what to make with it? Suggestions welcome!

Comment
Share

Cabling without a Cable Needle

The Nordlándda KAL is in full swing over on The Fibre Company Ravelry group, and everyone is doing a fantastic job of working their way through all the cables! But it also seemed like a good time to publish a tutorial on cabling without a cable needle, as that's how I knit all the samples. While is sounds intimidating, the technique isn't all that difficult - it just takes a bit of patience and practice!

My handspun BFL wound up and ready to cast on for the KAL!

Cables are a wonderfully satisfying thing to knit – all those twists and turns! – but sometimes they’re just more fiddly than seems worth it. There’s that cable needle that you need to find before you start, and that thing is hard to keep track of, particularly when your cables aren’t worked very often. The good news is that for many cables you don’t need to use a cable needle; most 2-, 4- and even 5- or 6-stitch cables can be done without a cable needle.

Cables are the result of working your stitches out of order. Instead of working Stitches 1, 2, 3 and 4 as they appear, you work them in a different order to cross the stitches over each other in a designated fashion. Let’s look at the 2/2 LC (left cross, also known as 2/2 Front Cross or C2F) cable as an example:

This cable is worked over four stitches, with the first two stitches crossed over (in front of) the second two stitches, resulting in a  band that leans to the left. If working with a cable needle, the instructions for this cable read: slide next 2 stitches to cable needle and hold to front of work, k2, k2 from cable needle. In other words, you’re moving the first two stitches of the cable to the front of your fabric and knitting the next two stitches before going back to the original first two stitches of the cable, creating a left-leaning cross.

To work a 2/2 RC (right cross) cable, the instructions would read: slide next 2 stitches to cable needle and hold to back of work, k2, k2 from cable needle. This results in crossing the first two stitches behind the second two stitches, creating right-leaning cross.

Both of these are pretty straightforward manoeuvres, but what about when you’re on the bus and have dropped your cable needle? What about if you’re settled in to watch the new season of Sherlock and your cable needle has gotten eaten by the couch cushions? This cable, and all of the others used in the Nordlándda collection, can be easily worked without a cable needle. All it takes a little practice, a deep breath and a cup of tea (or wine, whichever you prefer!)

Let’s use an easier cable for our first attempt: the 1/1 RC, a two stitch cable in which the first stitch is crossed behind the second stitch.

Step 1: Work to where the cable is situated. Slide the tip of the right (or working) needle through the second stitch on the left (non-working) needle from the front of the work.

Please excuse the plaster - I had a run in with a cheese grater.

Step 2: Take a deep breath and slide both of the stitches in the cable off the left needle, being careful to gently trap the free stitch against the working needle with your forefinger.

Step 3: move the tip of the left needle back behind the fabric and catch the free stitch, effectively crossing it behind the fabric, then slip the first stitch on the right needle back to the left needle.

Now work the stitches as required (for this example both stitches are knit). Voila! You’ve just worked a cable without a cable needle!

Now let’s try a 1/1 LC: this is worked just like the 1/1 RC, but from the opposite side of the work.

Step 1: Work to the cable and slide the tip of the right needle through the second stitch on the left needle from the back of the work.

Step 2: Carefully slip both stitches off the left needle, trapping the free stitch against the right needle with your thumb.

Step 3: Grab that free stitch with the left needle, crossing in front of the fabric,

before returning both stitches to the left needle and working as required. That’s it.

Now let’s try something a bit more complicated: a 2/2 RC.

Step 1: Work to the site of the cable and slide the tip of the right needle through the third and fourth stitches on the left needle from the front of the fabric.

Step 2: Carefully slide all 4 cable stitches off the needle, trapping the free stitches against the needle with your right forefinger.

Step 3: Swing the tip of the left needle behind the work and rescue those free stitches, crossing them behind the work.

Step 4: Return the first two stitches on the right needle (originally the third and fourth stitches of the cable) to the left hand needle and worked as indicated.

To work a 2/2 LC, the procedure is just the same, but you pick up the third and fourth stitches on the left needle from the back instead of the front, and cross the stitches the opposite way.

I hope you can see that simple cables can be worked without a cable needle fairly easily. But what about more complicated cables, like those dreaded 2/1/2 versions where you slide 2 stitches to one cable needle on one side of the work, the next stitch to another cable needle on the other side of the work, and then k2, p1 from second cable needle, k2 from first cable needle? You can still work these without the cable needle(s), but they are a bit trickier.

Here’s how to work a 2/1/2 RPC (right purl cross):

Step 1: Work to cable – there should be five stitches for this cable in total, presenting as two knit stitches, one purl stitch, and two knit stitches. Slide the tip of the left needle through stiches 3, 4 and 5 (purl stitch and last two knit stitches) from the front of the work.

Step 2: Slide all five stitches of the cable off the left needle, trapping the two free stitches against the right needle with your forefinger.

Step 3: Insert the tip of the left needle through the two free stitches and cross them behind the three remaining cable stitches.

Step 4: Now insert the tip of the left needle into the purl stitch from the back of the work and slide the purl stitch and two knit stitches off the right needle, trapping those free knit stitches against the left needle.

Step 5: Insert the tip of the right needle through those two free stitches, crossing them over the rest of the cable, and return them to the left hand needle.

You’ll now work k2, p1, k2, but because the order of the stitches on the needle has been rearranged, you’ll end up with a lovely cable cross, performed entirely without cable needles!

The key things to remember when doing cables without a cable needle for the first few times are to take it slow and relax – those free stitches won’t go anywhere unless a sudden movement or sharp tug makes them get scared and run away. Don’t rush and don’t panic, and before you know it you’ll be whizzing through your cable projects at enviable speed, with many fewer lost cable needles!

Comment
Share

Edinburgh Yarn Festival, Skyesong and Fibre Club updates

Quantum Dots, which will be available at EYF on some super soft Falkland merino

Quantum Dots, which will be available at EYF on some super soft Falkland merino

Well. It seems like the last almost four weeks since Unravel have flown by in a blur of wool and dye and chaos. It seems that way because they have! I've been full on prepping for Edinburgh Yarn Festival, which opens for classes today and for vast and fantastic stash enhancement on Friday. I've sent off five (!) boxes of fluff, have crammed a pile more into my luggage, and will be on a train northward in just a few hours, just in time to set up.

However, a few other things have happened in the last few weeks that I'd like to highlight. First off, slots are now open for Q2 of the 2016 Lab Goddess Fibre Club. The club runs £45 plus actual shipping cost (depending on location), and will include three monthly shipments of an exclusive colourway inspired by a woman scientist, either past or current. Check out the Fibre Club page to see past colourways and to book your space now.

Current fibre club members: parcels will ship out next week, and I hope you like this month's instalment!

Skyesong in Broadbean merino/flax

Skyesong in Broadbean merino/flax

Secondly - I have a new pattern out! Skyesong is a lace shawl designed for handspun, and I'm super thrilled that it's been published in the new issue of Knitty. The body of the shawl is worked in a garter lace pattern (knit on every row - woot!) until it is the desired size, and then the edge is finished with a border worked sideways and attached to the live stitches.

One important thing to mention: this is proper lace knitting, with things happening on both the right and wrong side rows. However, the body repeat is only four rows long, so it's not too difficult to get into a rhythm. The edging is more complicated and longer (20 rows), but the stitch count changes on every row, so it's pretty straightforward to figure out where you are in the repeat as you go on.

The pattern includes two sizes - the small version was knit up in fingering-weight yarn spun from some gorgeous wool/flax sliver that I got at Spunky Eclectic a couple of summers ago, in the Lobster colourway. The larger version was worked in my own 60% merino/40% flax top, dyed in the Broadbean colourway.

I'll have plenty of the merino/flax top at EYF this weekend, in both semisolid and variegated colourways, so if you're inspired for a little lacey shawl project, please stop by!

Comment
Share

Getting ready for Unravel

It's that last minute press to finish off bits and pieces of prep before packing up on Thursday and heading to Unravel. There's been a lot of final dyeing and prepping and labelling of fibre around here. Want to see some of what's coming with me this weekend?

I'm also super excited to be able to offer kits for my newest hat design, Ironwork.

Handspun undyed Shetland, with Crystal Violet, Coomassie Blue and Xylene Cyanole for the contrast colours.

Handspun undyed Shetland, with Crystal Violet, Coomassie Blue and Xylene Cyanole for the contrast colours.

The pattern is written with handspun in mind, and includes tips on how to spin the yarn. It's also got a handy chart to determine the finished size of your hat based on your preferred gauge with your particular yarn and needles. The gauges included run from 4-7 sts/inch, so the pattern can work with anything from fingering to worsted weight.

Undyed natural brown Shetland, with Congo Red, Ethidium Bromide and Yellow Fluorescent Protein as the contrast colours

Undyed natural brown Shetland, with Congo Red, Ethidium Bromide and Yellow Fluorescent Protein as the contrast colours

The kits will include 3 oz of main colour and three 0.5 oz bundles of the contrast colours. I'll have the two sample versions kitted up ready to go, but if you want to swap out some of the colours on the day, that's no problem! Kits will also include a printed version of the pattern, with a download code for the electronic version.

I'll be in the Barley room, next to the Yarn in the City booth (which will have copies of the London Craft Guide and yarn for the projects!), and I do hope you'll come by and say hello! And if you're around on Friday afternoon, please come to my talk on "Dyeing Science" from 4:00 - 5:00, where I'll share a few of the stories behind some of my more science-inspired colourways.

Comment
Share