Cabling without a Cable Needle

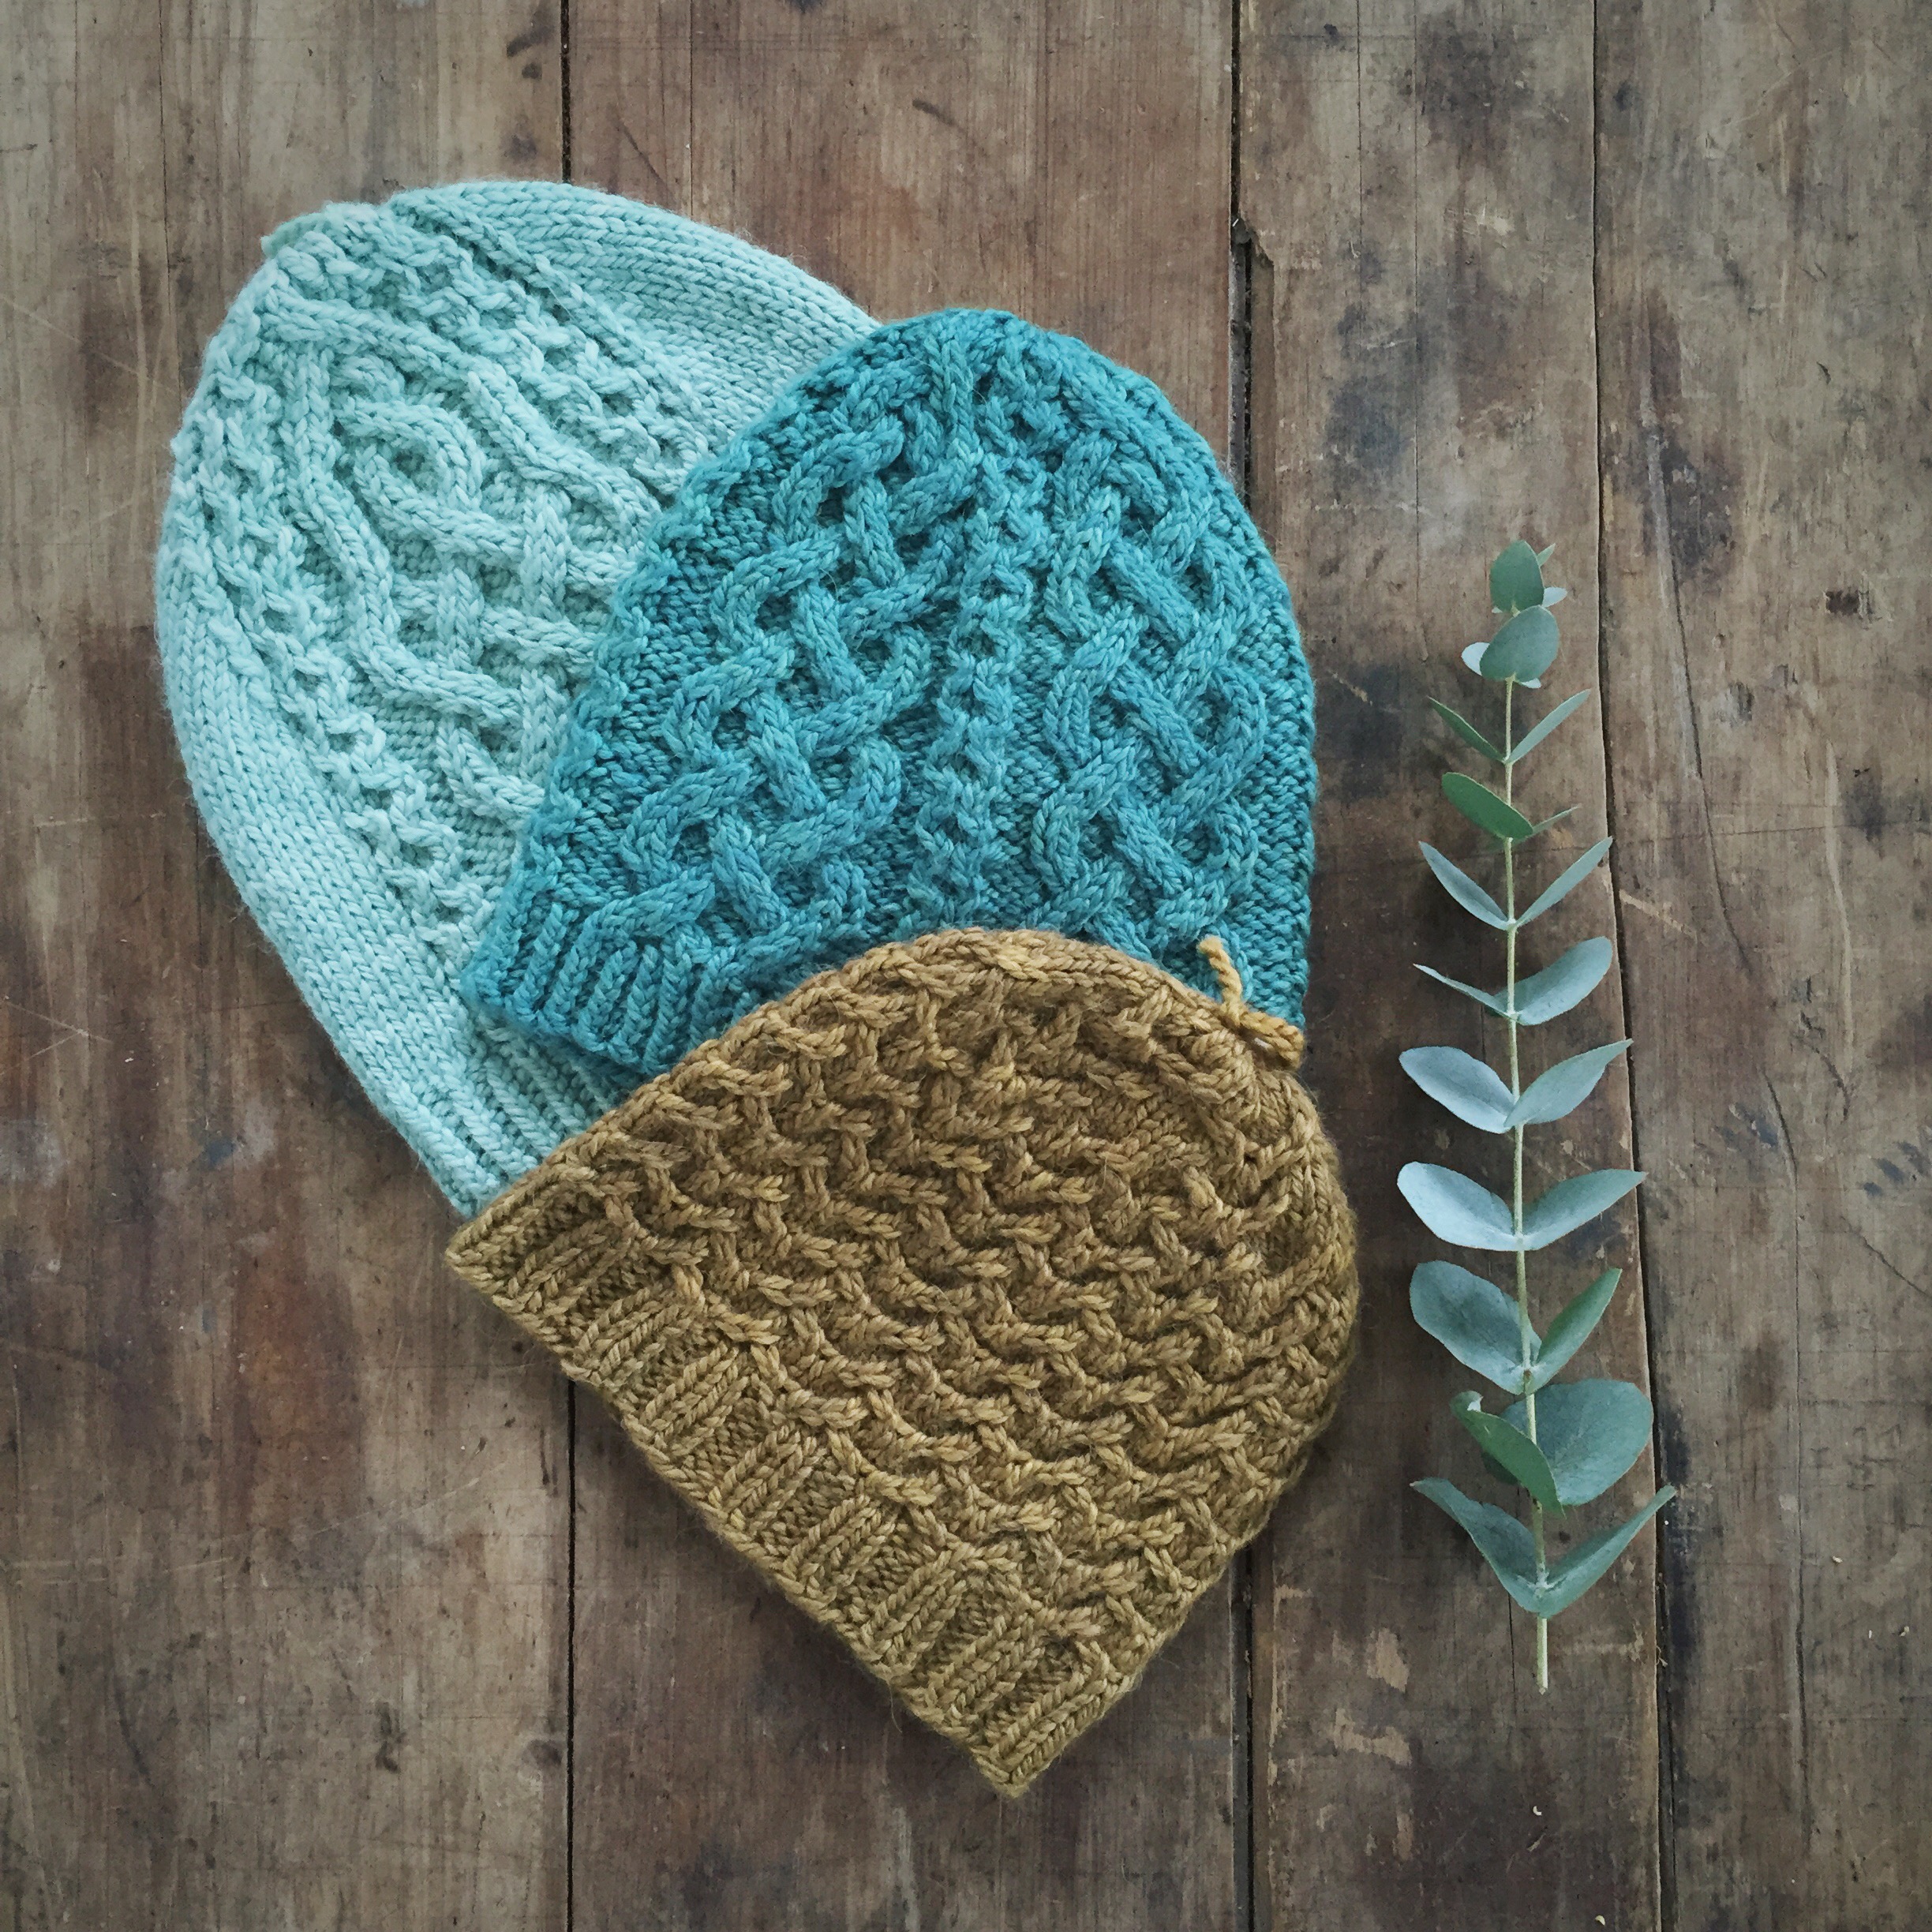
The Nordlándda KAL is in full swing over on The Fibre Company Ravelry group, and everyone is doing a fantastic job of working their way through all the cables! But it also seemed like a good time to publish a tutorial on cabling without a cable needle, as that's how I knit all the samples. While is sounds intimidating, the technique isn't all that difficult - it just takes a bit of patience and practice!

My handspun BFL wound up and ready to cast on for the KAL!

Cables are a wonderfully satisfying thing to knit – all those twists and turns! – but sometimes they’re just more fiddly than seems worth it. There’s that cable needle that you need to find before you start, and that thing is hard to keep track of, particularly when your cables aren’t worked very often. The good news is that for many cables you don’t need to use a cable needle; most 2-, 4- and even 5- or 6-stitch cables can be done without a cable needle.

Cables are the result of working your stitches out of order. Instead of working Stitches 1, 2, 3 and 4 as they appear, you work them in a different order to cross the stitches over each other in a designated fashion. Let’s look at the 2/2 LC (left cross, also known as 2/2 Front Cross or C2F) cable as an example:

This cable is worked over four stitches, with the first two stitches crossed over (in front of) the second two stitches, resulting in a  band that leans to the left. If working with a cable needle, the instructions for this cable read: slide next 2 stitches to cable needle and hold to front of work, k2, k2 from cable needle. In other words, you’re moving the first two stitches of the cable to the front of your fabric and knitting the next two stitches before going back to the original first two stitches of the cable, creating a left-leaning cross.

To work a 2/2 RC (right cross) cable, the instructions would read: slide next 2 stitches to cable needle and hold to back of work, k2, k2 from cable needle. This results in crossing the first two stitches behind the second two stitches, creating right-leaning cross.

Both of these are pretty straightforward manoeuvres, but what about when you’re on the bus and have dropped your cable needle? What about if you’re settled in to watch the new season of Sherlock and your cable needle has gotten eaten by the couch cushions? This cable, and all of the others used in the Nordlándda collection, can be easily worked without a cable needle. All it takes a little practice, a deep breath and a cup of tea (or wine, whichever you prefer!)

Let’s use an easier cable for our first attempt: the 1/1 RC, a two stitch cable in which the first stitch is crossed behind the second stitch.

Step 1: Work to where the cable is situated. Slide the tip of the right (or working) needle through the second stitch on the left (non-working) needle from the front of the work.

Please excuse the plaster - I had a run in with a cheese grater.

Step 2: Take a deep breath and slide both of the stitches in the cable off the left needle, being careful to gently trap the free stitch against the working needle with your forefinger.

Step 3: move the tip of the left needle back behind the fabric and catch the free stitch, effectively crossing it behind the fabric, then slip the first stitch on the right needle back to the left needle.

Now work the stitches as required (for this example both stitches are knit). Voila! You’ve just worked a cable without a cable needle!

Now let’s try a 1/1 LC: this is worked just like the 1/1 RC, but from the opposite side of the work.

Step 1: Work to the cable and slide the tip of the right needle through the second stitch on the left needle from the back of the work.

Step 2: Carefully slip both stitches off the left needle, trapping the free stitch against the right needle with your thumb.

Step 3: Grab that free stitch with the left needle, crossing in front of the fabric,

before returning both stitches to the left needle and working as required. That’s it.

Now let’s try something a bit more complicated: a 2/2 RC.

Step 1: Work to the site of the cable and slide the tip of the right needle through the third and fourth stitches on the left needle from the front of the fabric.

Step 2: Carefully slide all 4 cable stitches off the needle, trapping the free stitches against the needle with your right forefinger.

Step 3: Swing the tip of the left needle behind the work and rescue those free stitches, crossing them behind the work.

Step 4: Return the first two stitches on the right needle (originally the third and fourth stitches of the cable) to the left hand needle and worked as indicated.

To work a 2/2 LC, the procedure is just the same, but you pick up the third and fourth stitches on the left needle from the back instead of the front, and cross the stitches the opposite way.

I hope you can see that simple cables can be worked without a cable needle fairly easily. But what about more complicated cables, like those dreaded 2/1/2 versions where you slide 2 stitches to one cable needle on one side of the work, the next stitch to another cable needle on the other side of the work, and then k2, p1 from second cable needle, k2 from first cable needle? You can still work these without the cable needle(s), but they are a bit trickier.

Here’s how to work a 2/1/2 RPC (right purl cross):

Step 1: Work to cable – there should be five stitches for this cable in total, presenting as two knit stitches, one purl stitch, and two knit stitches. Slide the tip of the left needle through stiches 3, 4 and 5 (purl stitch and last two knit stitches) from the front of the work.

Step 2: Slide all five stitches of the cable off the left needle, trapping the two free stitches against the right needle with your forefinger.

Step 3: Insert the tip of the left needle through the two free stitches and cross them behind the three remaining cable stitches.

Step 4: Now insert the tip of the left needle into the purl stitch from the back of the work and slide the purl stitch and two knit stitches off the right needle, trapping those free knit stitches against the left needle.

Step 5: Insert the tip of the right needle through those two free stitches, crossing them over the rest of the cable, and return them to the left hand needle.

You’ll now work k2, p1, k2, but because the order of the stitches on the needle has been rearranged, you’ll end up with a lovely cable cross, performed entirely without cable needles!

The key things to remember when doing cables without a cable needle for the first few times are to take it slow and relax – those free stitches won’t go anywhere unless a sudden movement or sharp tug makes them get scared and run away. Don’t rush and don’t panic, and before you know it you’ll be whizzing through your cable projects at enviable speed, with many fewer lost cable needles!

The shortest day of the year

It's a dreary grey day in London today, and there isn't going to be much of it. For today is the Winter Solstice, when the Northern Hemisphere experiences the shortest amount of daylight all year (a mere 7 hours and 49 minutes).

To celebrate the depths of winter, and the gradual return of the sun, today is the kick off of a fantastic KAL hosted by The Fibre Company, featuring their glorious Tundra yarn and the patterns from the Nordlándda collection!

All images copyright 2016 Kate O'Sullivan for The Fibre Co.

The KAL is being hosted in the I Heart The Fibre Co. Ravelry group, and will run through the last day of winter, on March 20th. 

As a special deal, you can get three of the Nordlándda collection patterns for the price of two - just use the coupon code Northland17 when you check out to receive your discount. I'll be hanging around the KAL thread on Ravelry to answer any questions and cheer people on, and I'm excited to be joining in!

Copyright 2016 Kate O'Sullivan for The Fibre Co.

I'm going to knit Fauske in some handspun Bluefaced Leicester - the singles are done, but now I've got to ply and finish the yarn before I can cast on. Looking forward to having you all join in! 

Yarnporium is coming!

You may or may not have seen some details over the past few weeks about a little show I'm going to be vending at this coming weekend - the brand new Yarnporium!

The Yarnporium kicks off on Saturday, 5th November at King's College London on the Strand at 10am (unless you've booked a workshop) and will run through 4pm on Sunday afternoon. If you are looking to do any holiday crafting this year, this is the show to go to! There will be yarn and kits and all sorts of lovely, beautiful treats for the crafters in your life (or for yourself, when you get right down to it!) Allison has been doing an amazing job sharing previews of vendor goods on Yarn in the City, but I thought I'd do a bit of my own sharing.

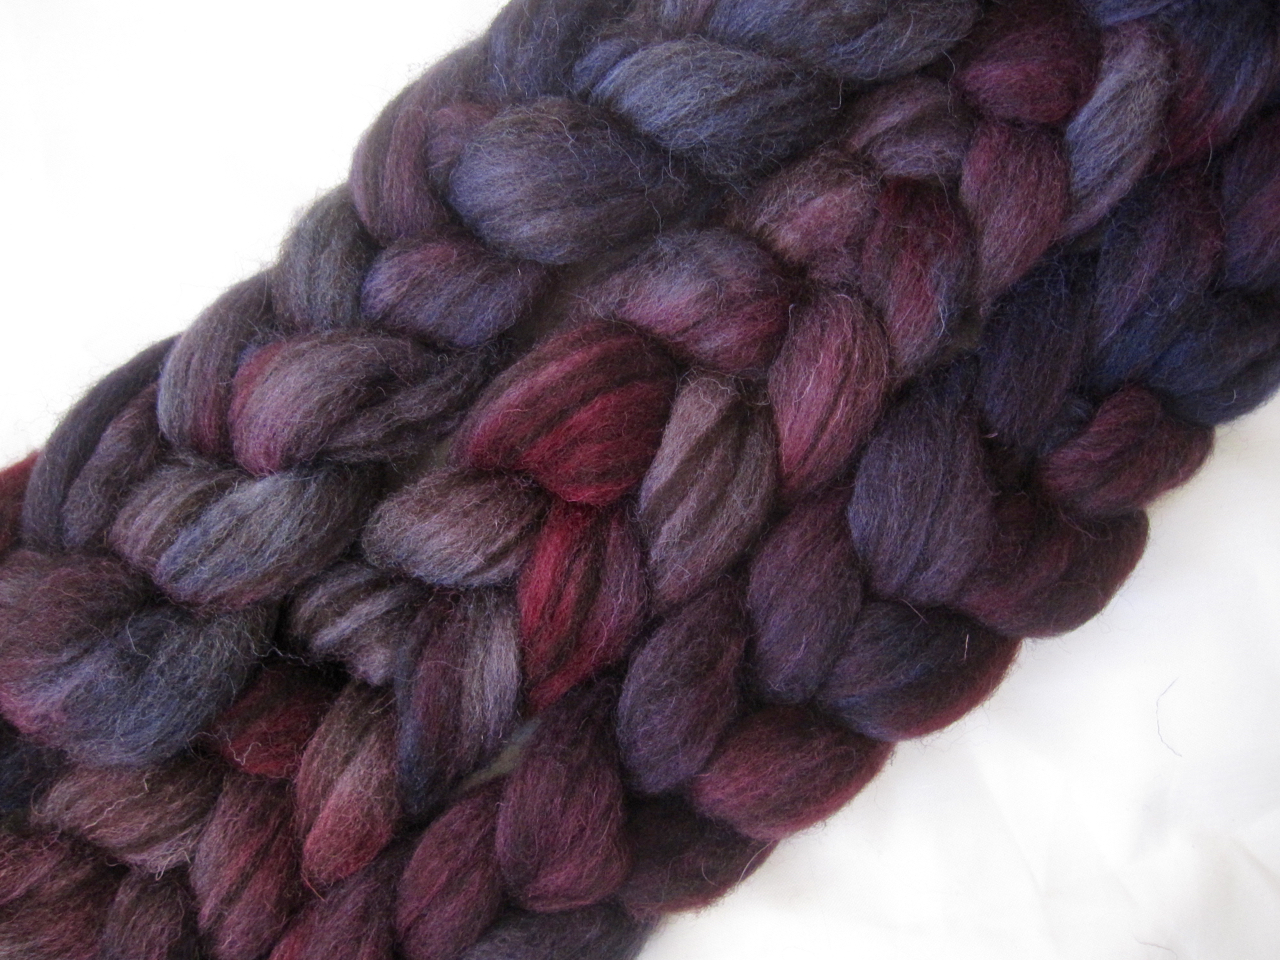
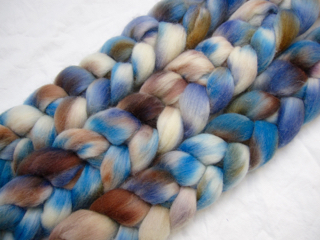
So what am I bringing to the Yarnporium? Well...first up will (obviously) be fibre. Lots and lots of fibre...

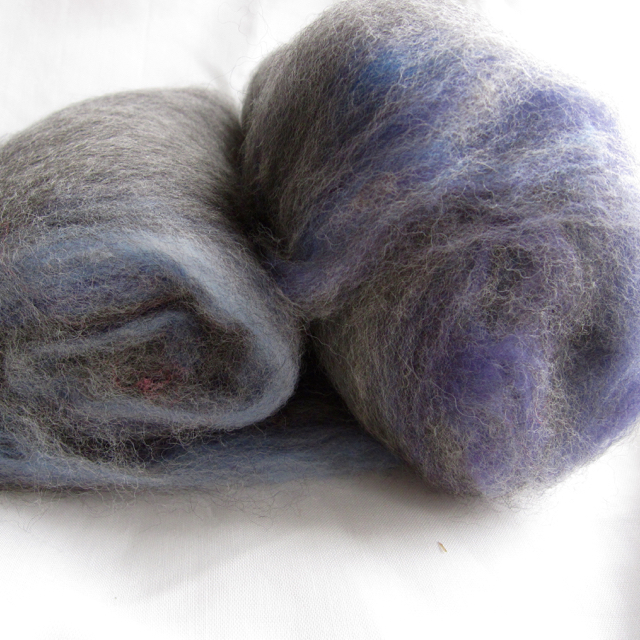
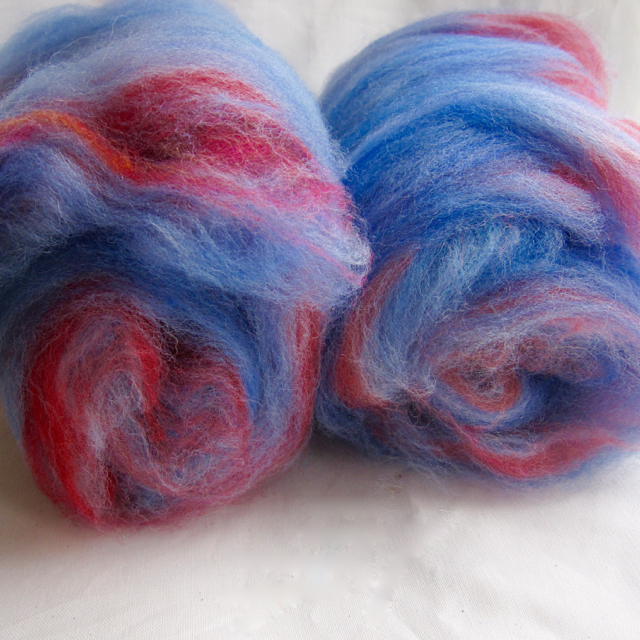
Clockwise from top left: Haematoma Humbug BFL, Willow Hearth Romney, Hoard Falkland, Shetland/Suffolk Victoria Sponge batt, Alpaca/Ile de France Victoria Sponge Batt and Quantum Dots BFL.

I'm also hoping to have a few more gradients for the show, including a very last minute one inspired by this gorgeous autumnal vine I saw over the weekend.

I'm also planning on having quite a few spindle kits available - if you've been wanting to learn how to spin, or know someone who wants to learn, these make great Christmas presents! You get a drop spindle, instructions, and four 1 oz/28 g bundles of different fibres to try out for £20. I'll have them with a wide selection of fibre colours and types, so do come by and check them out!
 

Tickets for the Yarnporium are still available at the early bird price (£8 per day/£12 for a weekend ticket) until tomorrow. After that, the prices will go up to £10/£15 respectively, so don't wait! It should be a great weekend and I'm looking forward to seeing you there!

Home from Yarndale

I'd not been to Yarndale, the spectacular Yorkshire celebration of all things colourful and woolly, before this past weekend, and I am definitely going back! From the location for the show to the spectacular decorations to the wide array of vendors, it was absolutely lovely.

First up: the venue - held in the Skipton Auction Mart, the site for Yarndale is not what would immediately spring to mind when thinking about a show venue. There's a rough concrete floor, and vendors are literally penned in - most stalls are placed inside one of the animal pens. And while this may strike you as a bit odd, as a vendor it was akin to having a ready made shell system. We took advantage!

Then there was the decoration of the hall - I sadly did not get a photo of the famous Yarndale Bunting, but there was plenty of added colour to enjoy!

Then there were the critters - alpaca, bunnies, sheep on every aisle. I was particularly taken by the matched set of alpacas at the end of our row on Saturday.

Then there were the sheep: Herdwicks, Shetlands, Jacobs, Wensleydales - just about everything you could possibly imagine!

Baby Herdwick

Suspicious Jacob lamb

Wensleydale with a recent haircut

Thanks so much to everyone who came by the booth over the weekend - it was a pleasure to meet so many of you! If there's something that you wish you'd grabbed at the show, the shop is now back online so go over and have a browse. If you don't see what you're looking for, let me know through the contact links at the bottom of the page. And hopefully I will see you next year in Skipton!

Unravel KAL, talks and much more!

Happy February everyone! It's hard to believe that we are already into the second month of the year, and the next show is barreling down like a runaway train. In other words, the light at the end of the tunnel is getting bigger, but I'm not sure that's because I'm making progress!

My first stop on the February train journey is Bath, where I'll be teaching "How to Knit a Sexy Sweater" at A Yarn Story this coming Sunday. It's a two part class - the morning session will cover swatching: choosing a needle size, how to swatch properly so that your swatch doesn't lie to you, fibre content considerations, and the always important blocking of your swatch. The afternoon will dig deep into how to get your swatch, gauge and chosen sweater pattern to play nicely together, and will tap in to my deep and abiding love of spreadsheets (apologies in advance). There are still some slots available, so head over to A Yarn Story's website to sign up if you'd like to join us - we'd love to have you!

Maltings from Inspiration Knits

Maltings from Inspiration Knits

Multiple Maltings...

Multiple Maltings...

Next up on the list of February events is the Unravel Festival of Knitting, taking place at Farnham Maltings from 19th - 21st February. There's a lot of stuff swirling around for Unravel this year. Louise Zass-Bangham of Inspiration Knits has a new cowl pattern that she's released (and that I tech edited) for an Unravel KAL called Maltings (on Ravelry)- it's free until the show ends on 21st February, so go grab your copy now! Like many of Louise's patterns, Maltings inlcudes all sorts of tips on how to adjust the pattern to different yarns and different degrees of complexity, so you can truly make it your own! 

I'm really looking forward to Unravel for several reasons: Porpoise Fur will be there with a booth, sharing space with Yarn in the City (where Alli and I will have our new book available to purchase, along with yarn for the patterns in the book!), but I'm also tremendously honoured to be giving a talk on Friday afternoon from 4:00 - 5:00 pm. The talk is titled "Dyeing Science: From Inspiration to Colourway", and I'll be talking about the origin of some of Porpoise Fur’s science-inspired colourways, from the laboratory bench to finished dyed fibre. I'm really looking forward to sharing the process I go through from the starting images to fibre or finished yarn. The talks are free, and I'd love to have you all join me! Only please don't bring any rotten tomatoes with you...;-)